
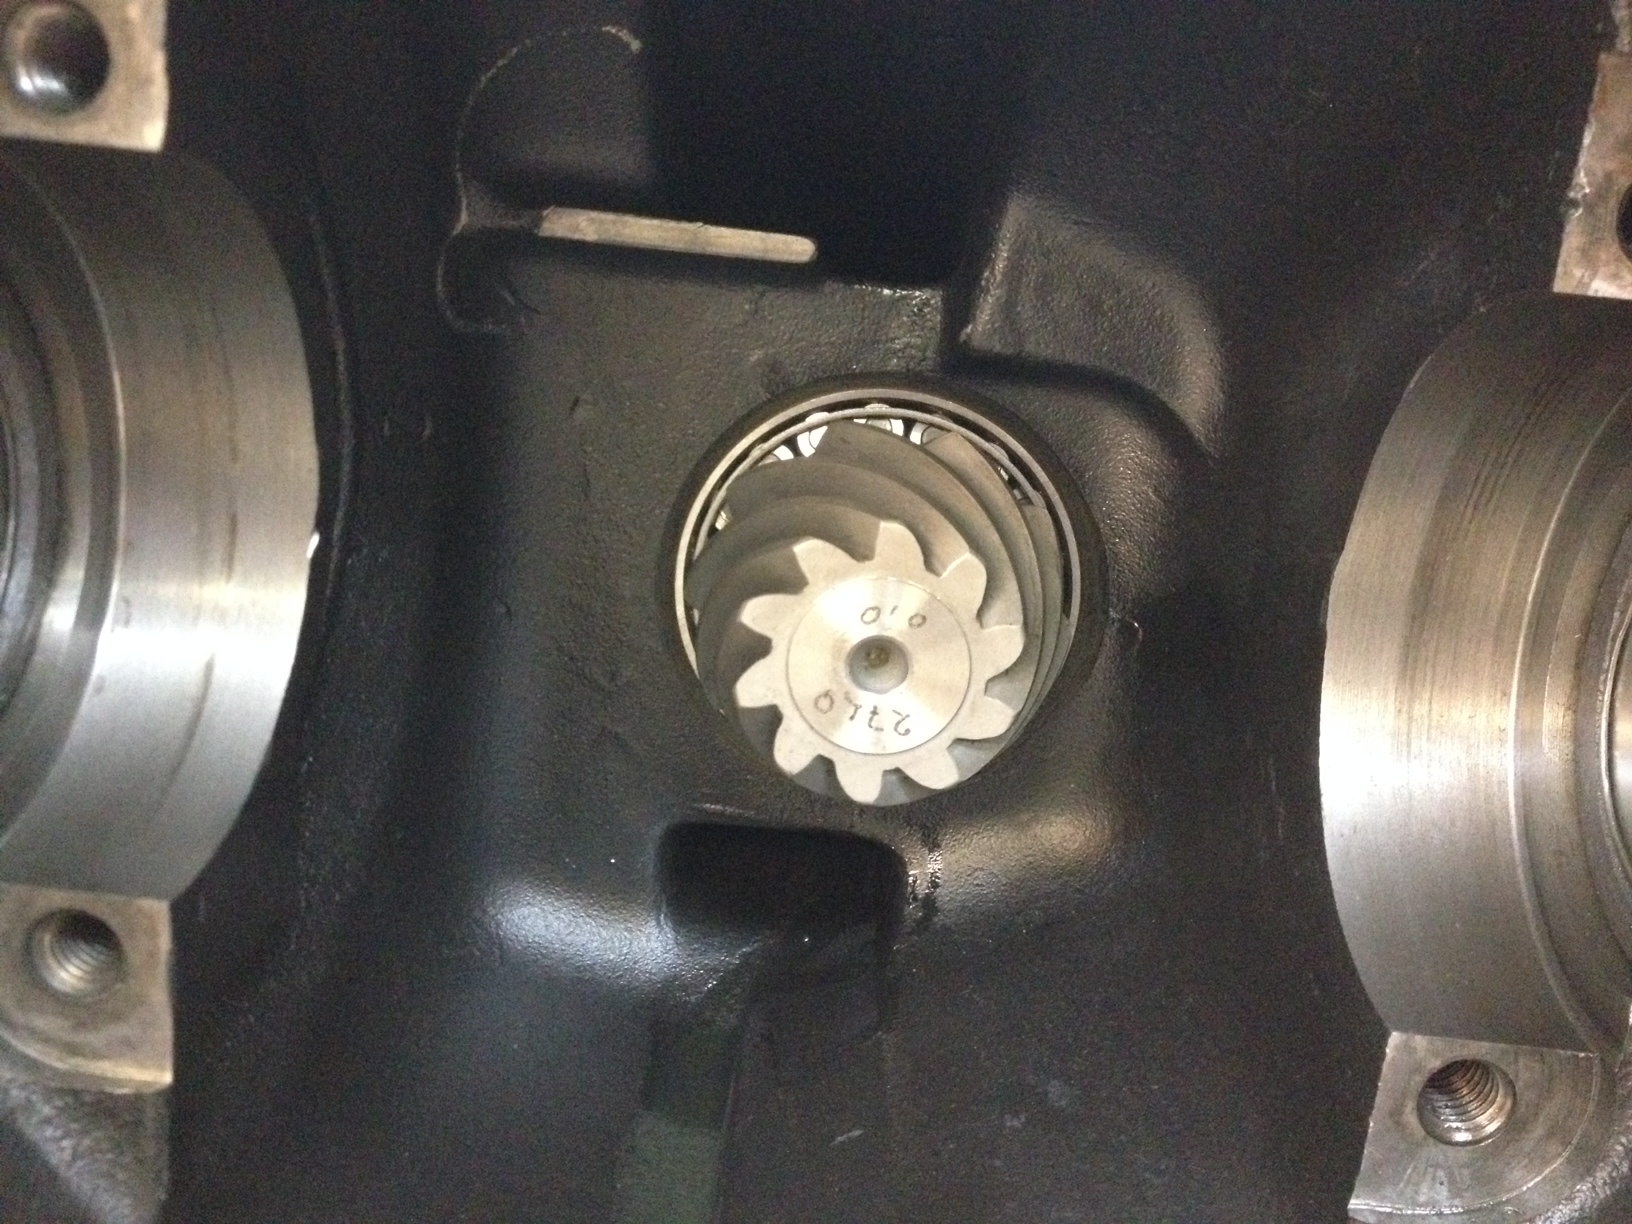
Outer and inner pinion bearing cups are installed (used a Bearing Buddy kit that Ryan has). I matched the shim stack width that came out from behind the inner bearing cup. Shim stacks for the carrier bearings were also matched and installed under the pressed on carrier bearings.
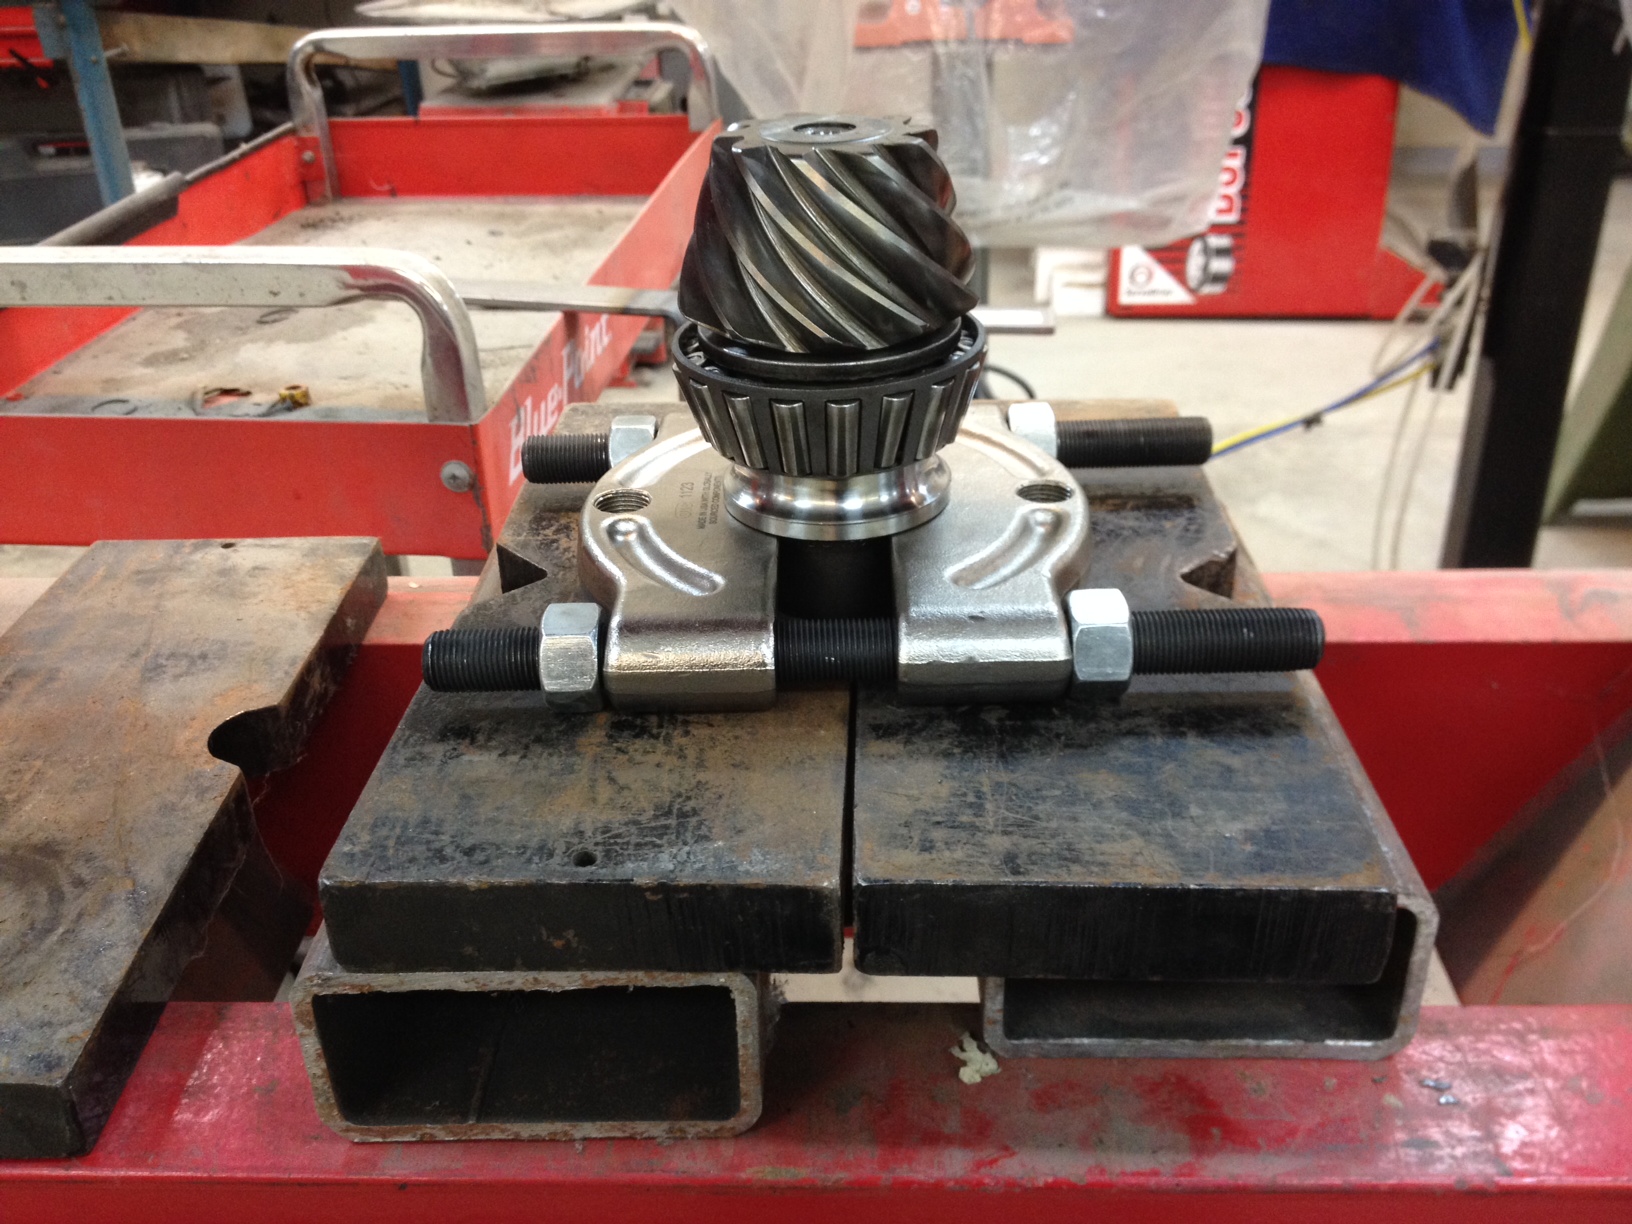
Inner pinion bearing is pressed on. The pinion shim stack sits behind the cup for this bearing.
Pinion installed. The large crush washer, rear pinion bearing, the drive flange, and then the drive flange nut are installed. The flange nut needs to be torqued to somewhere between 220 – 280 lbs. ft. to seat the bearings and provide 20 to 40 inch pounds of pinion preload. I torqued the pinion nut down in steps, 100 – 150 – 200 – 240, giving the pinion a few taps on both ends with a brass drift to help everything seat properly.

Pounds per inch torque wrench. Once you’ve managed to torque the drive flange to about 230 lbs. ft. you need to start testing the bearing preload. For new pinion bearings the pinion preload should be set at 20-40 lbs. in. I measured the preload after every additional 10 lbs. ft. of torque after the 230 mark, the pinion preload hit 30 lbs. in. at 260 lbs. ft.

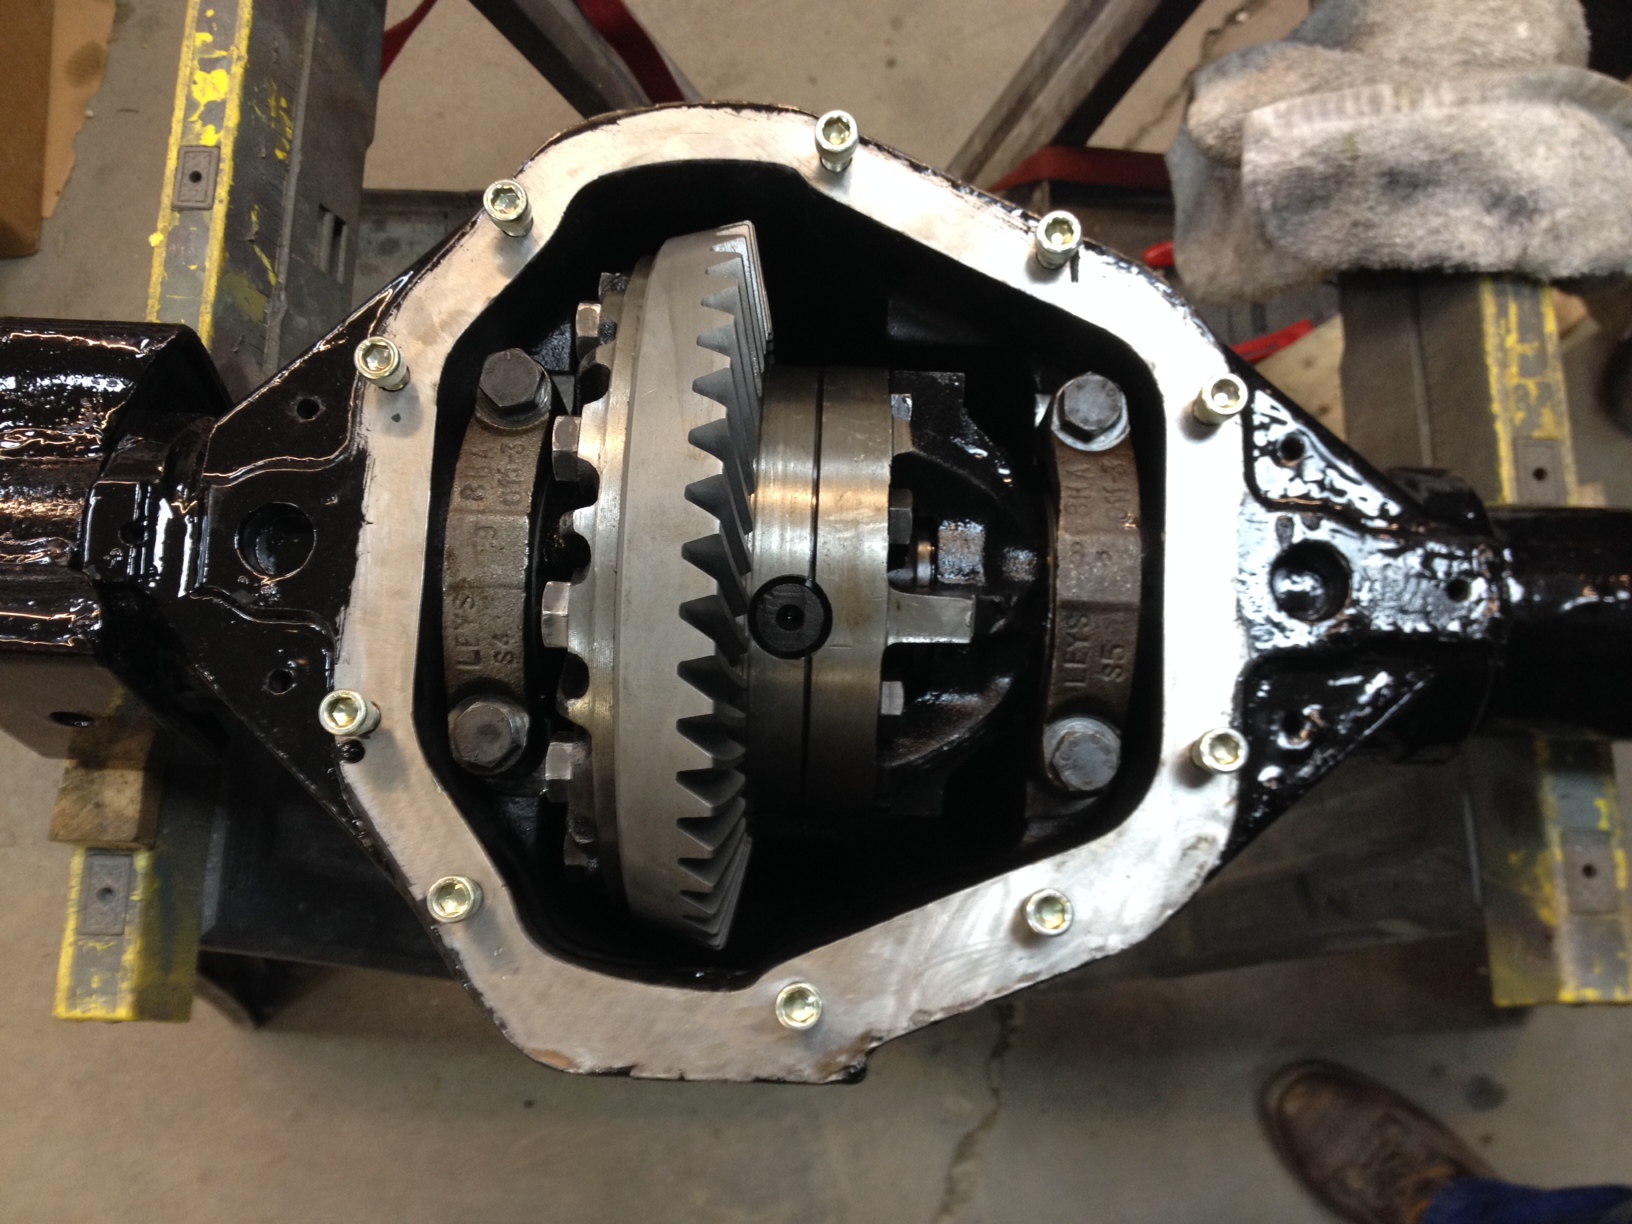
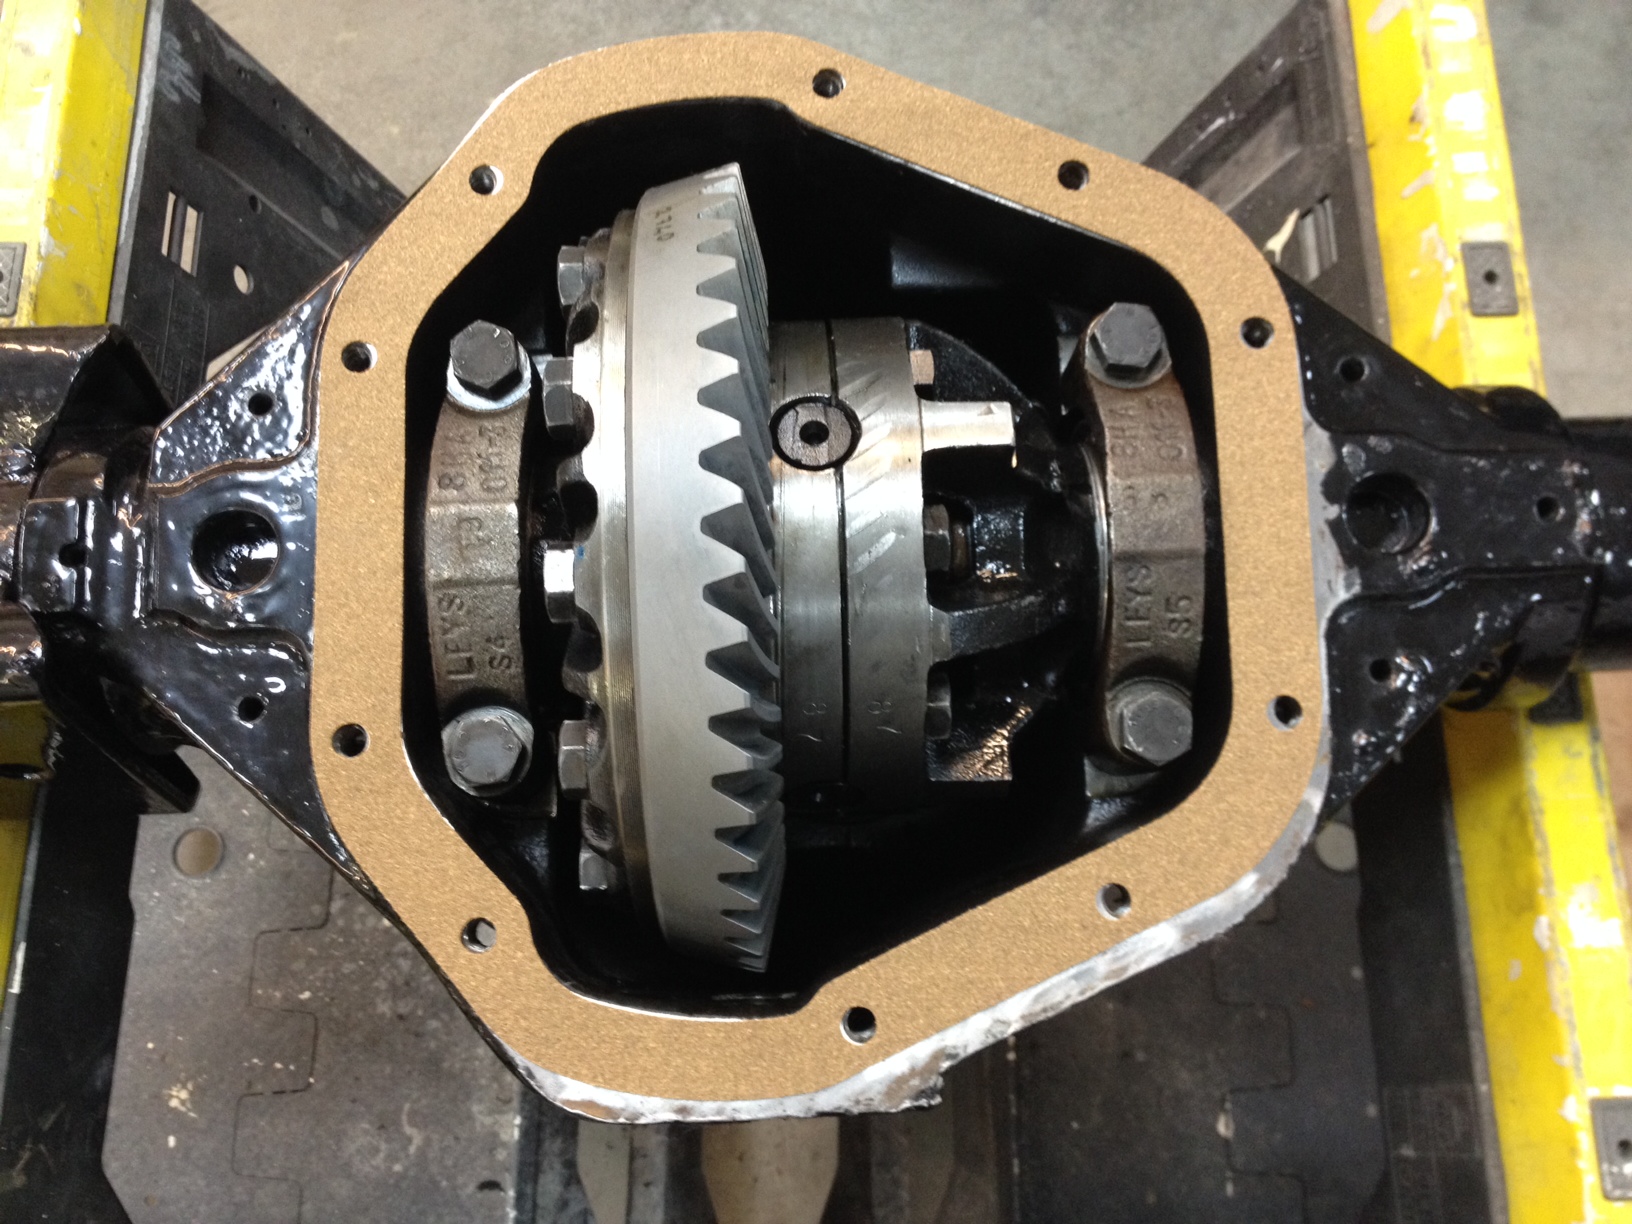
The diff with new carrier bearings installed, carrier bearing caps back in their original spots, even the bolts in the same holes. Time to mark the new ring gear and see what the pinion contact pattern looks like.
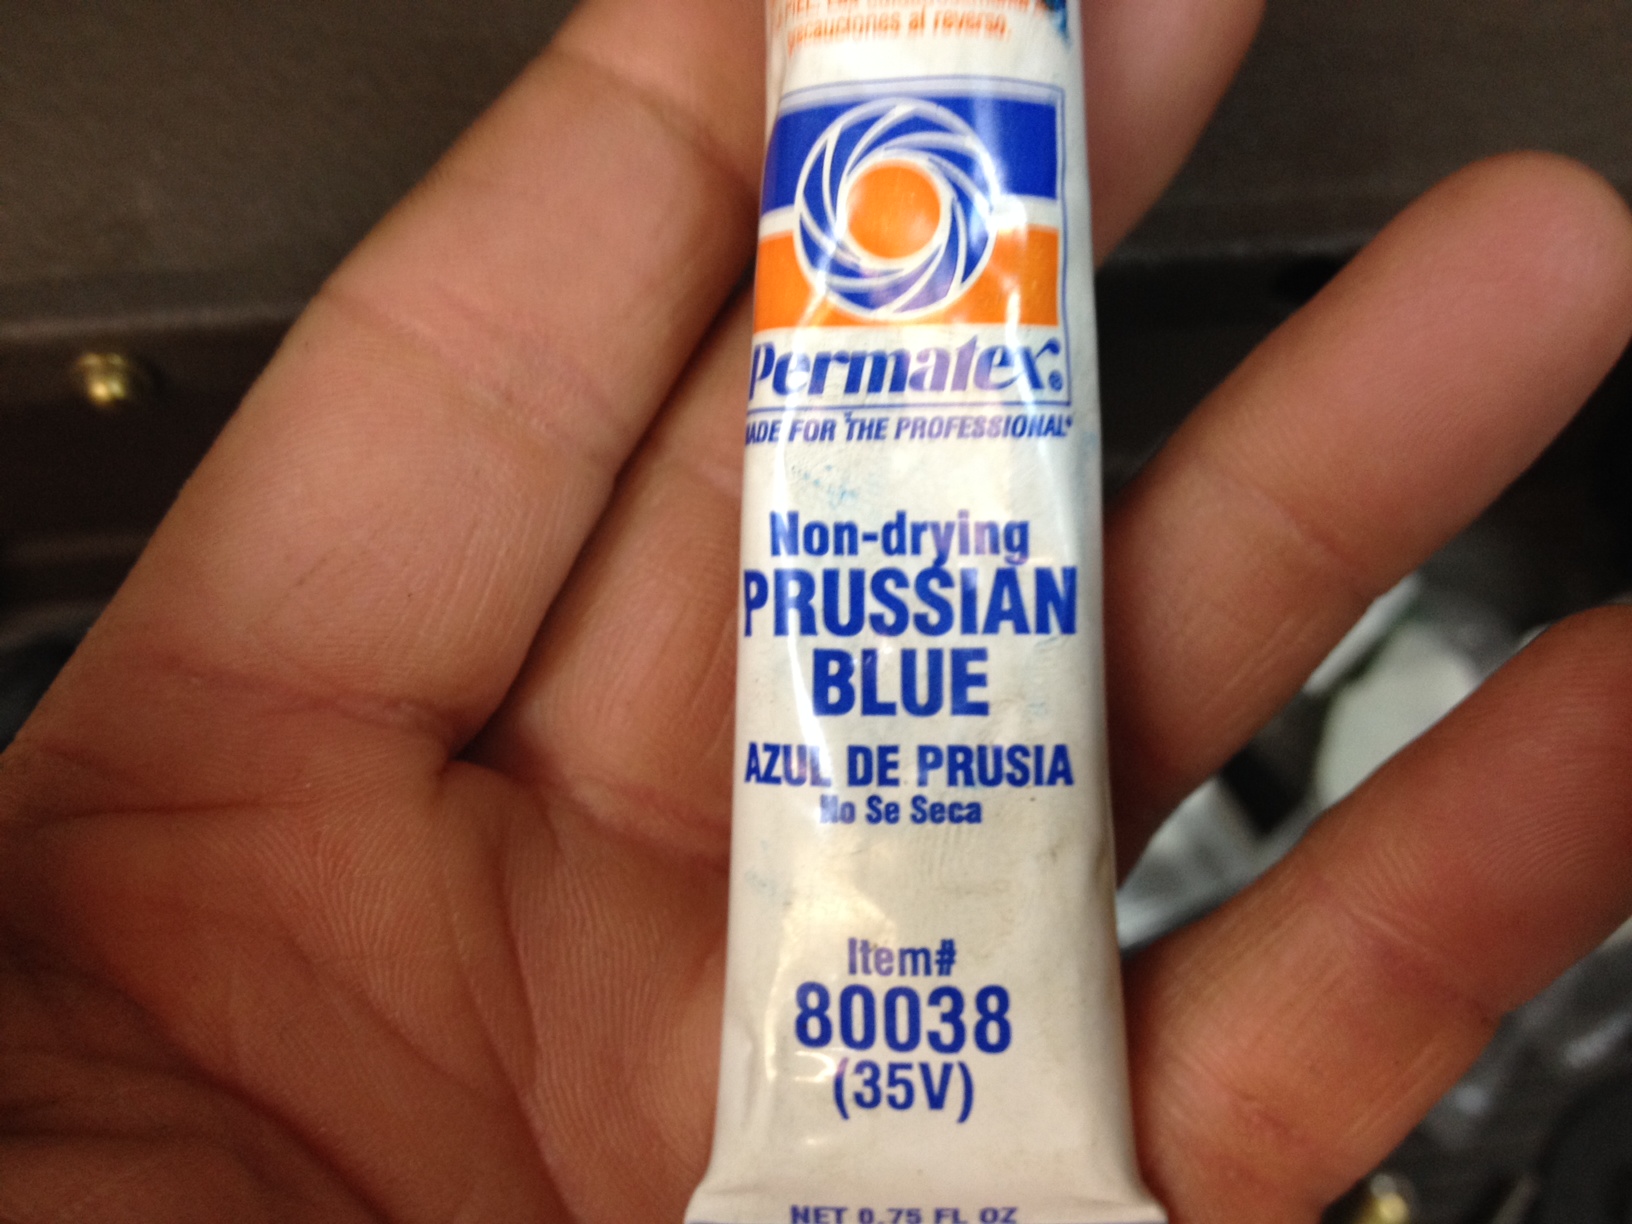
There are specific gear marking compounds out there, Prussian Blue works fine. The contact pattern was fine but the pinion was a bit too deep………sucks………..so everything came apart, pinion comes out, inner bearing cup gets driven out, shim stack gets shortened up, then reassembly.
Second time was a charm. Drive and coast contact patterns were dead on.
New cork gasket and some Hylomar to seal things up.

The breather on the front Salisburys is in the inspection cover.
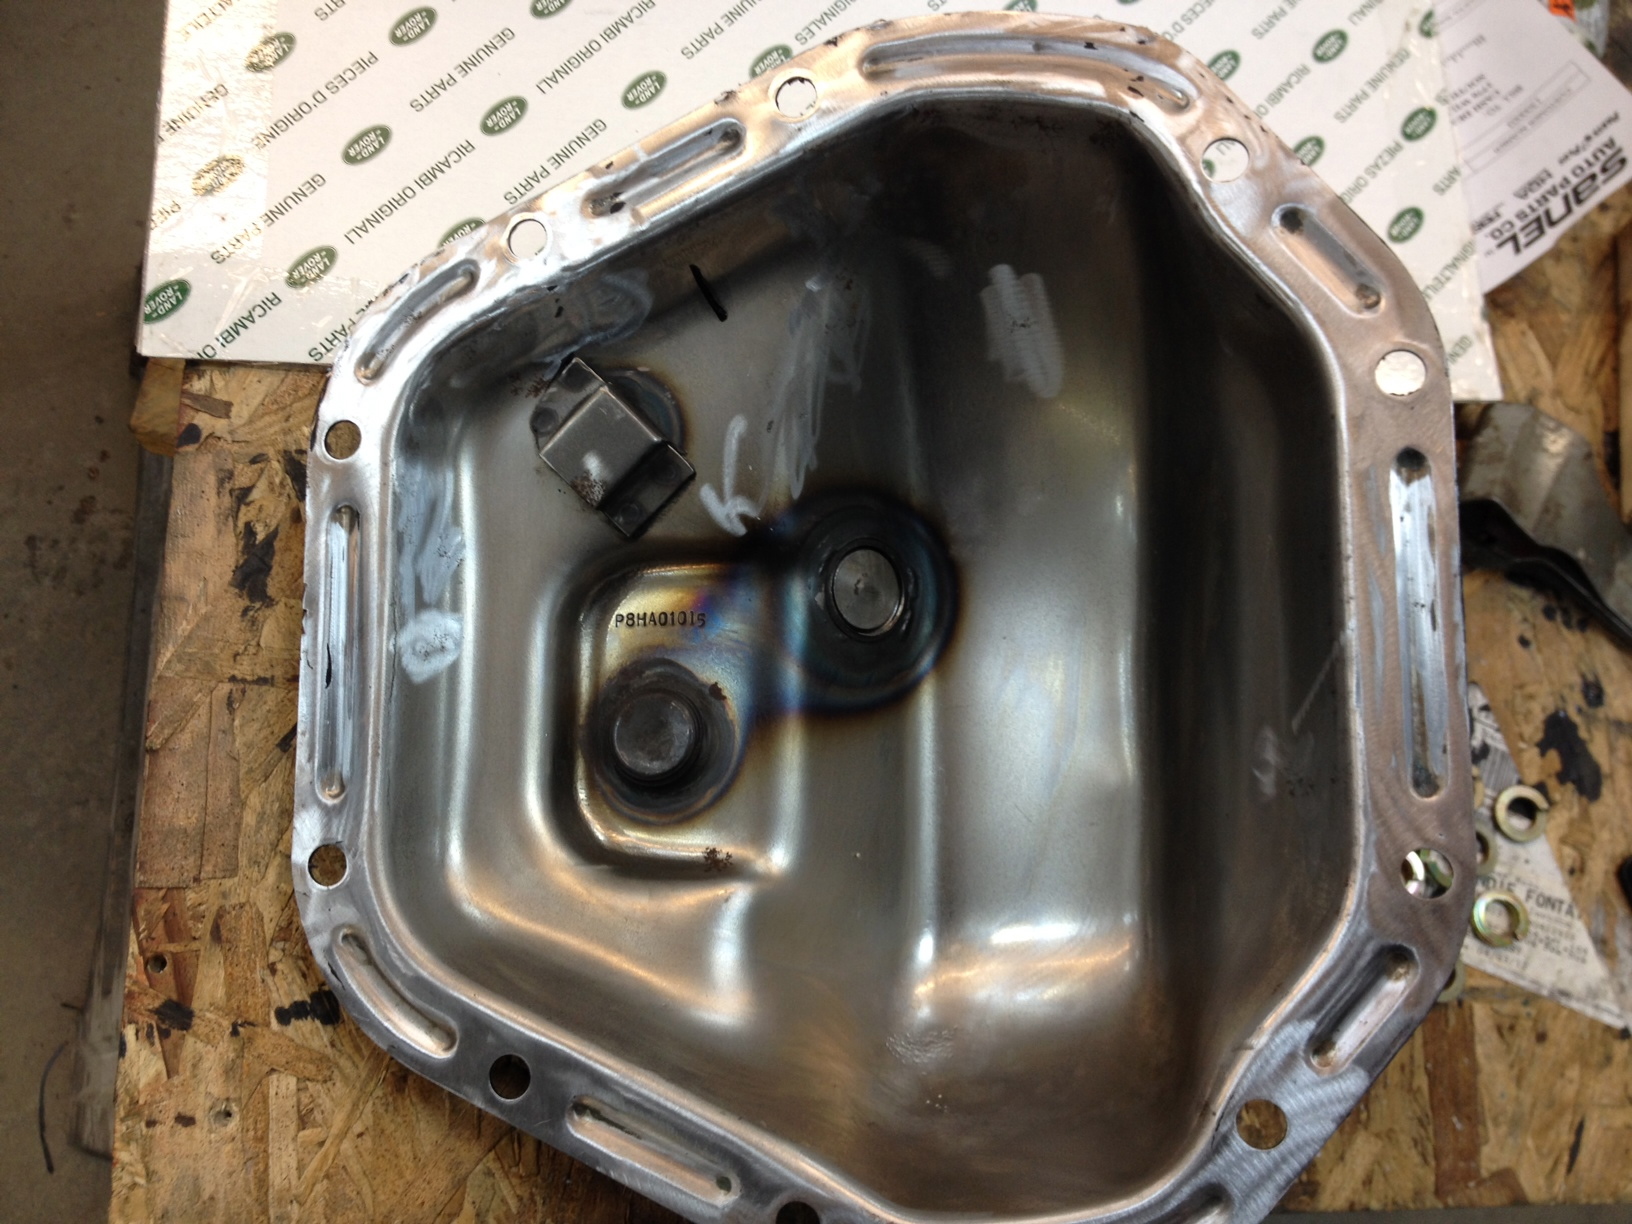
A cover is tack welded over the breather hole to prevent 90w from being pushed through.
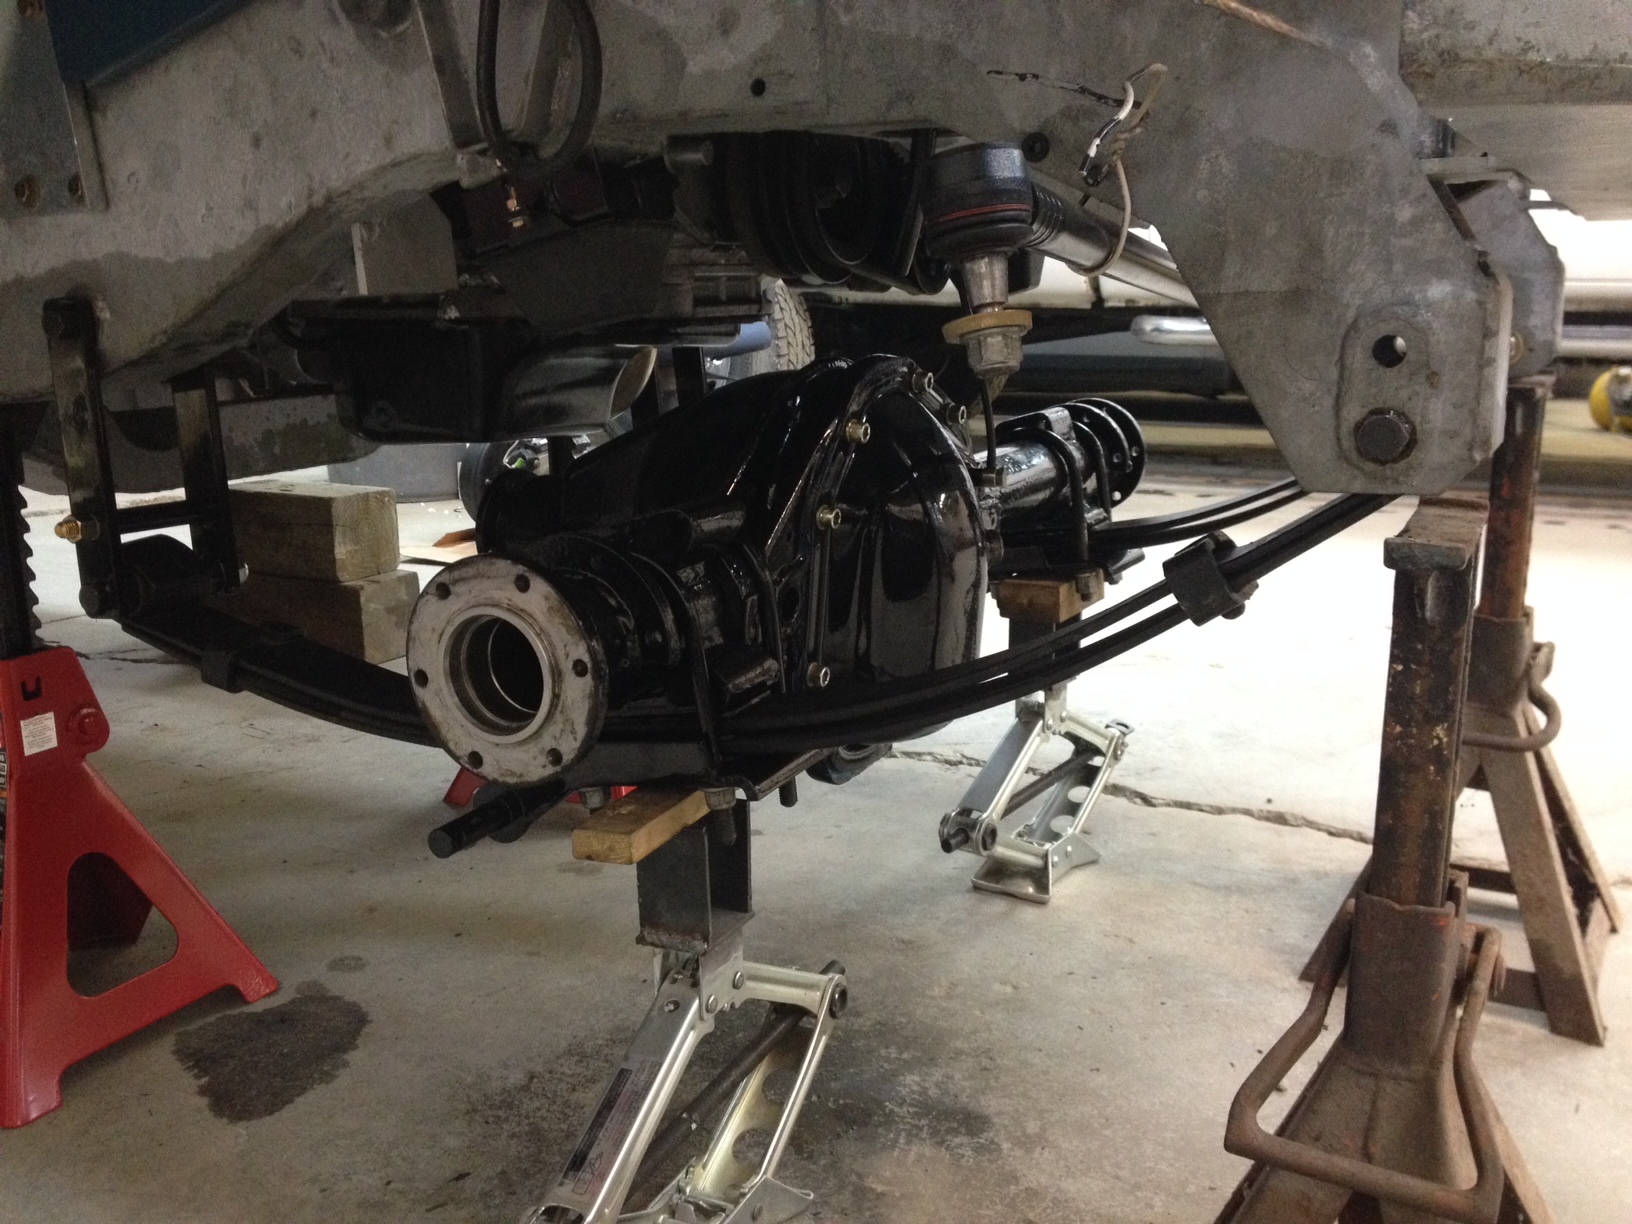
I got smarter (actually Ryan’s idea), and left the axles out and brakes off to make the beast more manageable going in………..it’s still a heavy bastard.

Back where it belongs………it’s just simple reassembly from here.
Good work and very useful post too.