
I’ve finally collected all of the parts to get the front Salisbury back together. It’s now time to pull the old carrier bearings off, get the shim stacks ready, press in new bearing cups, etc, etc. First problem……….the damaged thrust washer……….it pretty much melted to the drive flange.
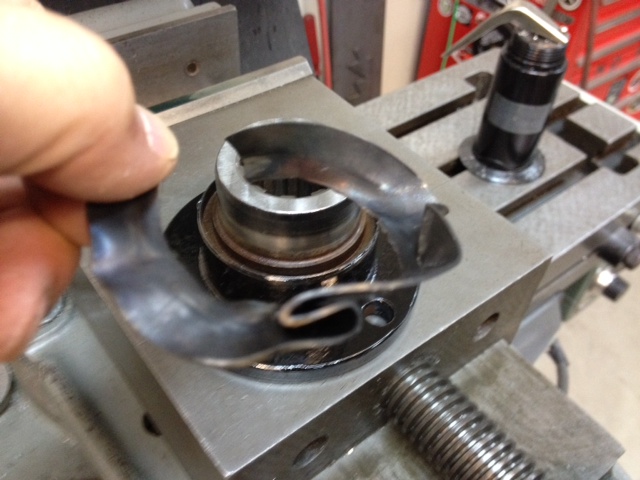
What I could peel off of the drive flange.

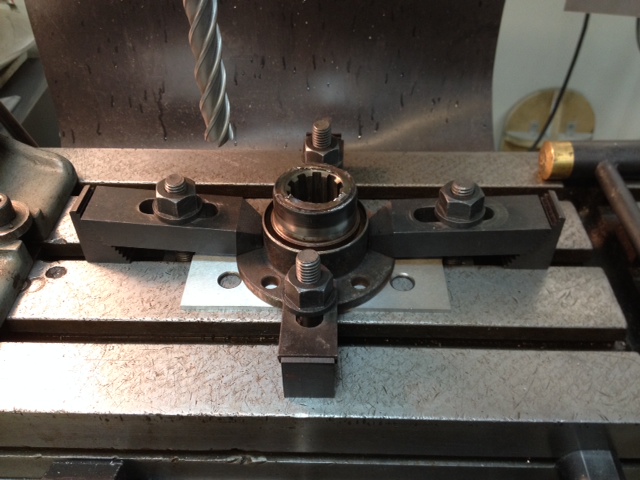
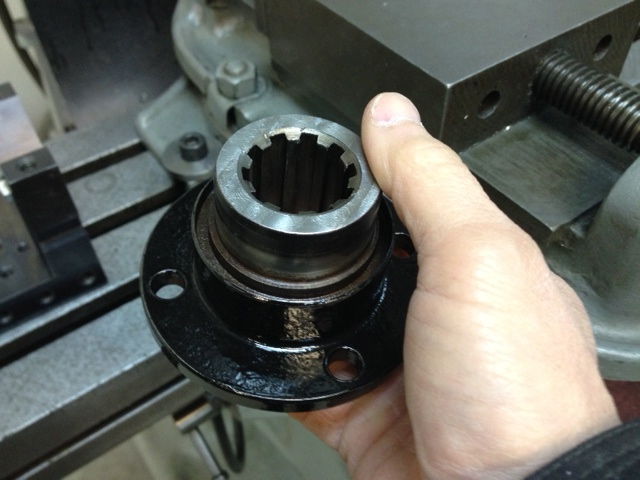
What was left bonded to the flange……….these flanges can be bought pretty cheap, but, this one is still good, all I have to do is get the washer remnant off. Bridgeport to the rescue.

The flange clamped to the mill table, 5/8 HSS mill ready to shave off layers of washer. The plan is to make several passes and hopefully the washer material gets so thin it will eventually peel off (and hopefully not damage the old flange).
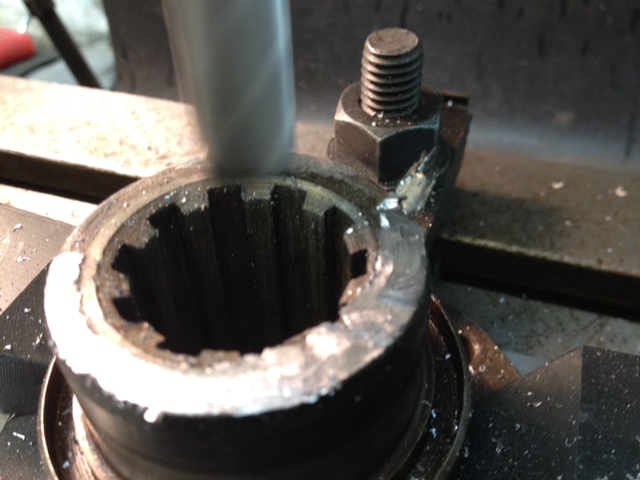
Mill doing it’s thing a couple of thousandths at a time.
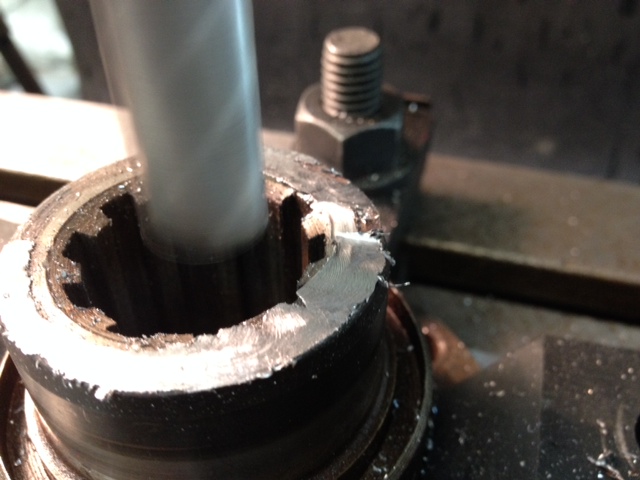
Pretty much tin foil at this point.
Gone!
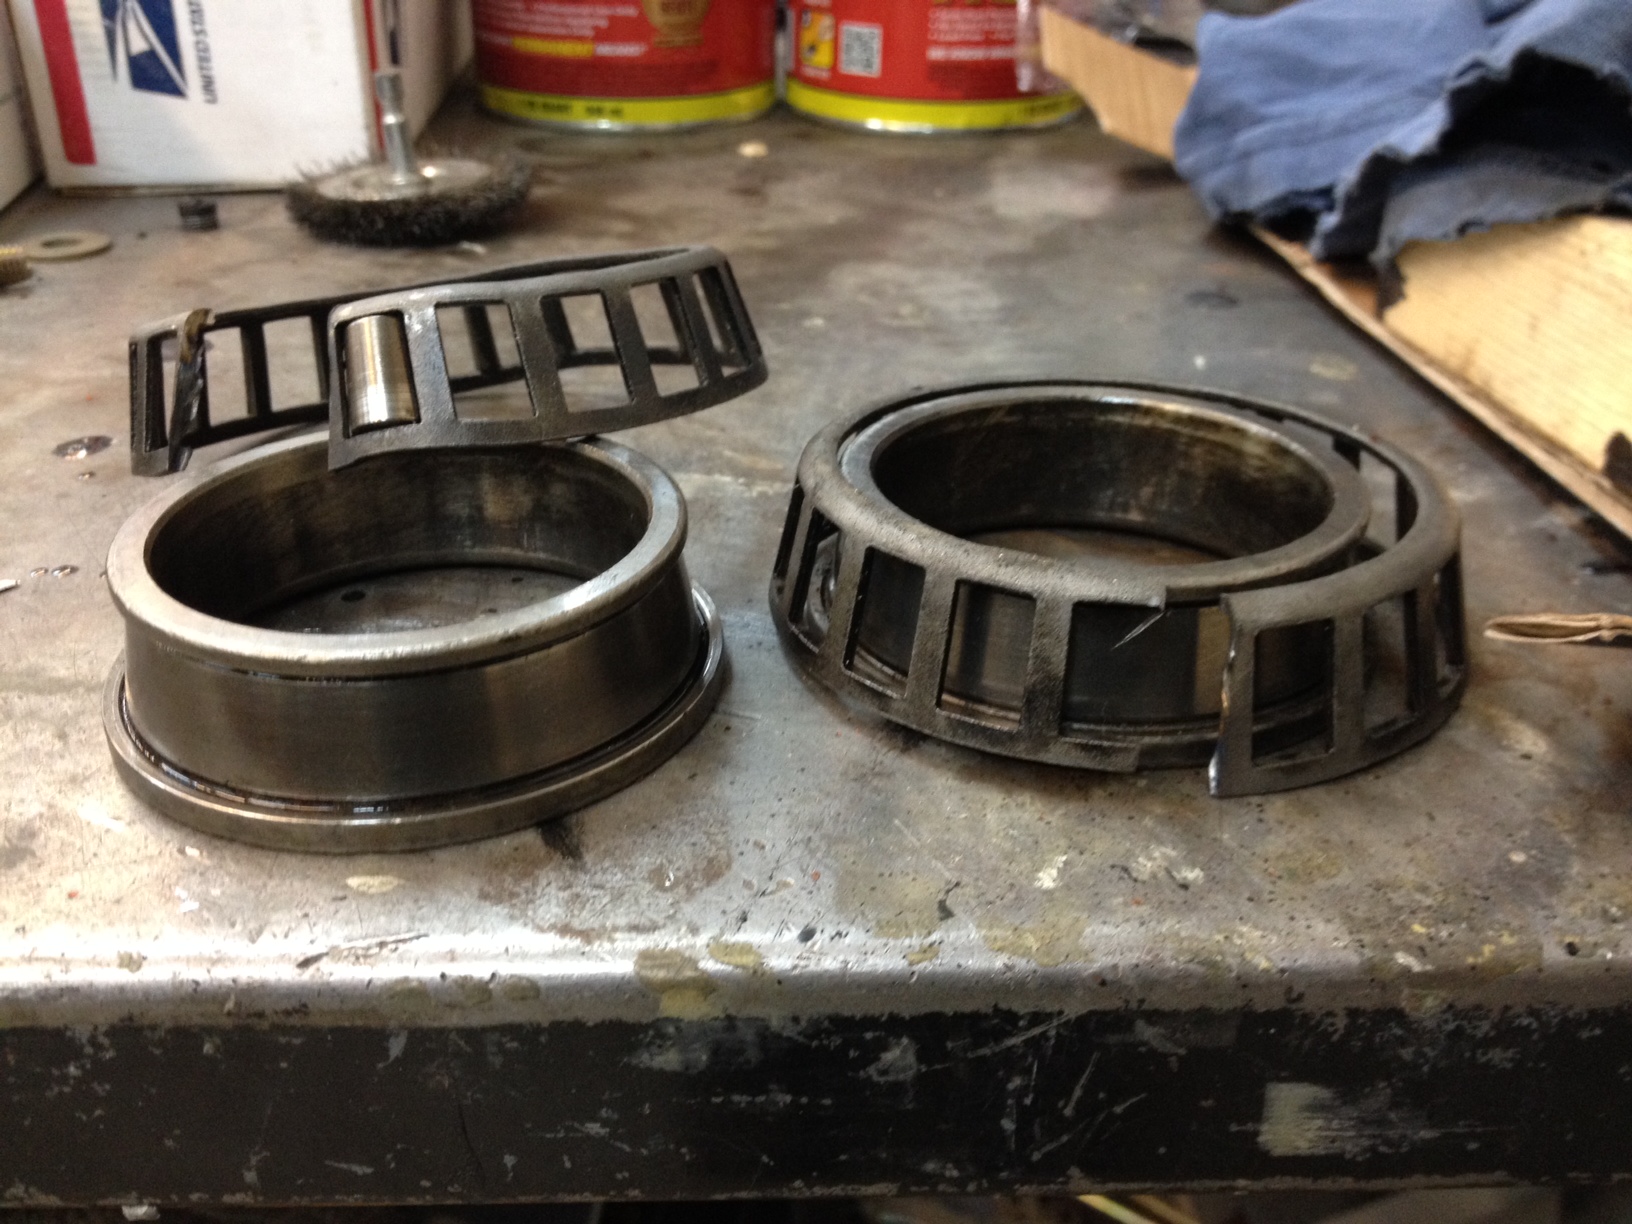
The carrier bearings were a bitch
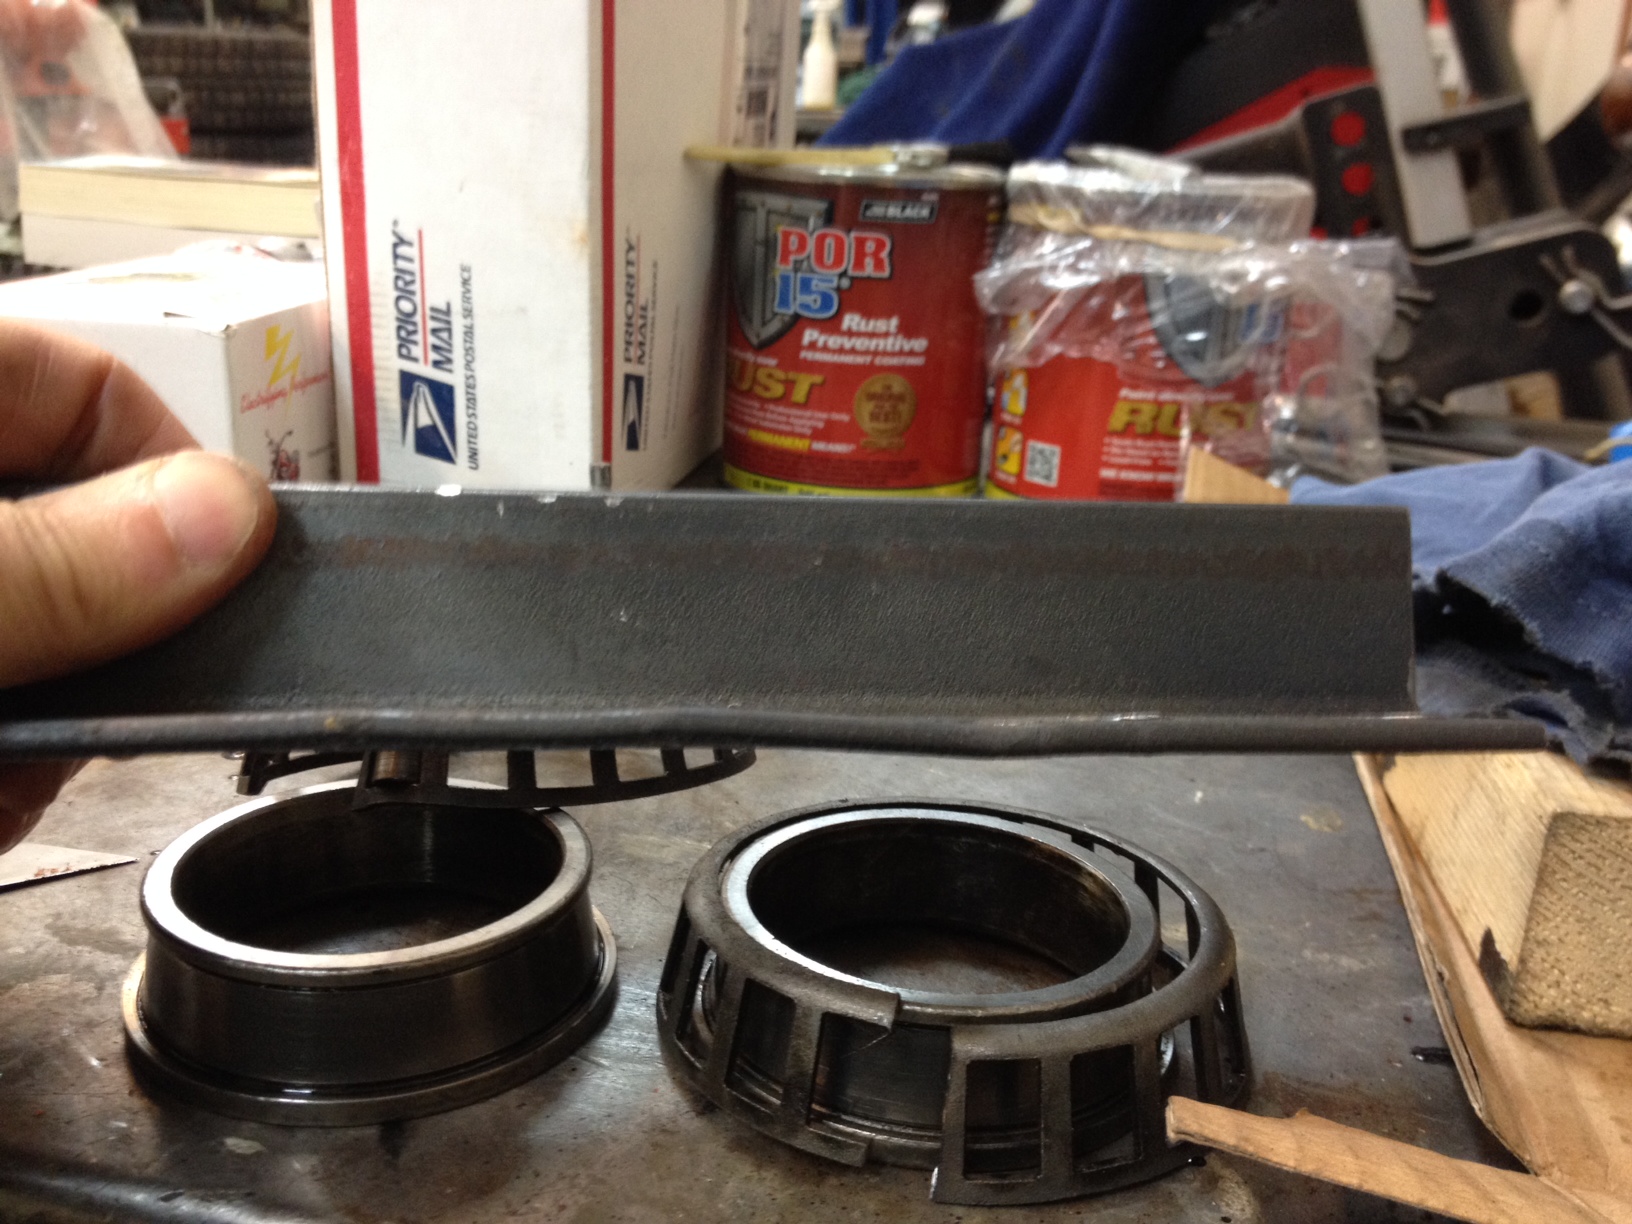
The first puller made from angle stock……..this with two 9/16 bolts and a clam shell puller…….no go.
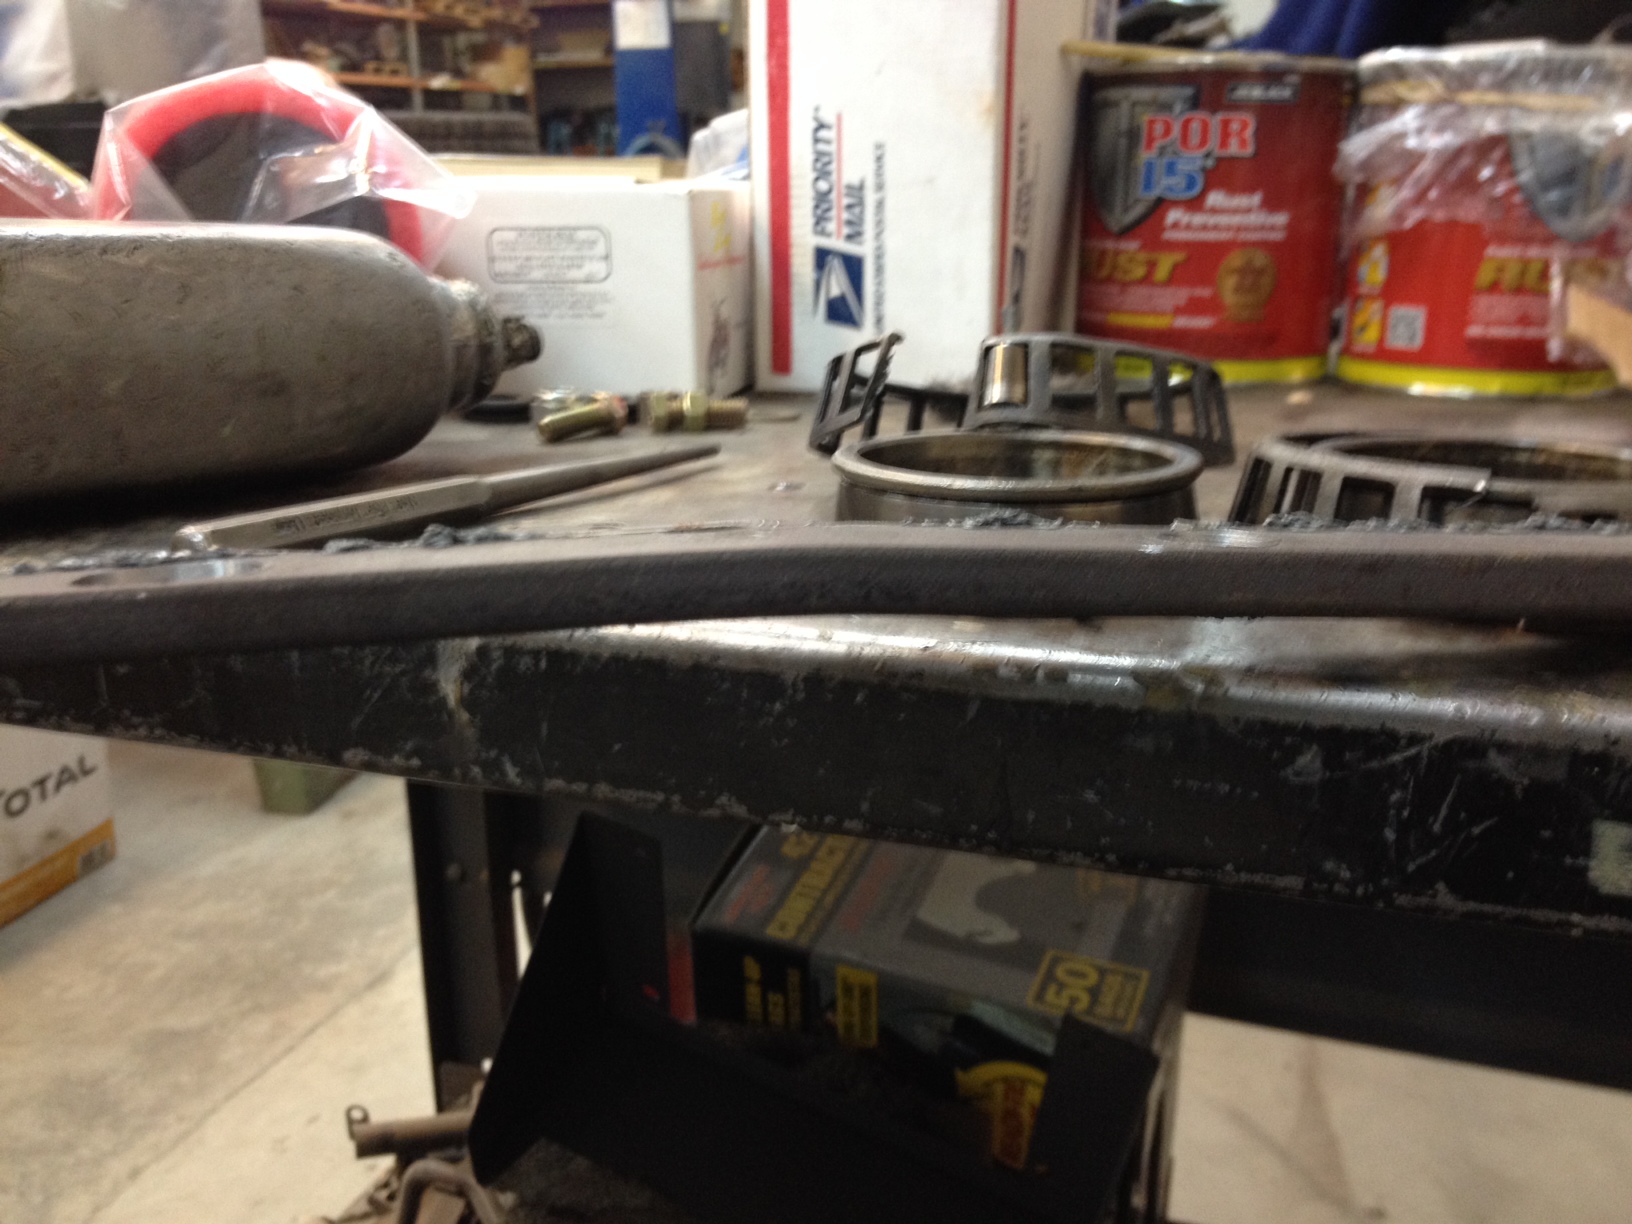
Next attempt was 3/8″ stock with the same clam shell…..you can see what happened……bent the 3/8″ stock too…….time to cry “uncle”. I brought the diff to a heavy truck shop (Freightliner dealer)……the carrier bearings actually bent one of the arms on their machine, but a second puller they had did the job. There was no way in hell I was ever going to get these things off myself. (O/A gas would have worked but I really didn’t want to introduce that kind of heat into the old diff.)