
 The engine has to come out in order to do the slingers…………as I’ve been disassembling the /2 it’s becoming more evident that it may need more than new slingers and gaskets.
So it’s going to go down to a bare frame and I’ll start from zero.

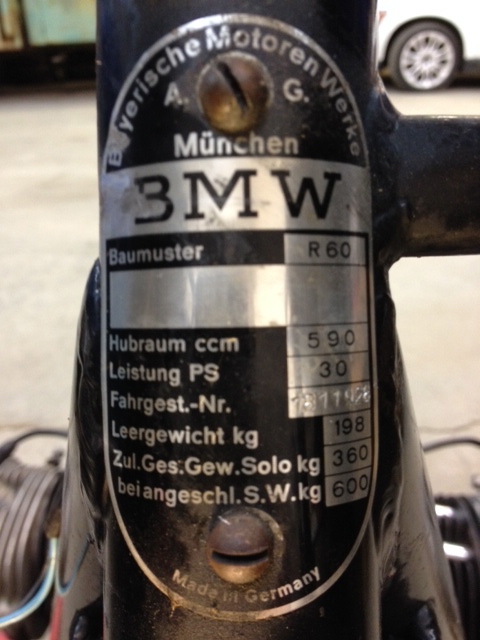
47 years of grime on the head tube………all numbers match.

Wiring harness comes out first………back to front. The brains of the operation are in the headlight bucket.
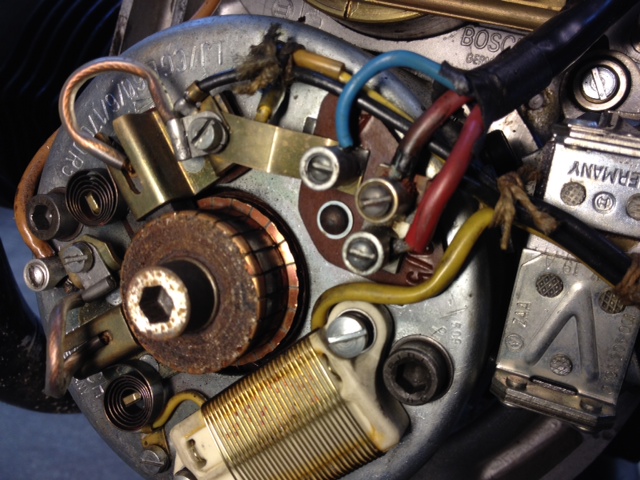
The important stuff resides under the front engine cover……magneto, regulator, generator, points, coil.

Generator body off, now the rotor has to come off the crank end. Enter Cycle Works in Shawnee, KS, makers of specialty tools for your vintage BMW restoration. The little tool above screws into the rotor, presses on the crank end and pops the rotor off of the tapered crank end…..slick.

Off it came.

Parts of the Cycle Works many-in-one tool above, and the description from the website below:
Complete engine dis/reassembly tool allows removal of the crankshaft so you can clean the slingers. It holds the flywheel, removes the timing case cover, crankshaft timing gear, front bearing carrier, camshaft timing gear from the camshaft, rear main bearing and the flywheel. It will also press back on the front bearing carrier, both timing gears, rear main bearing and the generator ball bearing. Replaces Matra numbers 282 292 311 355a 499 499/5 535 536 5038

So far so good…….tomorrow the heads come off.
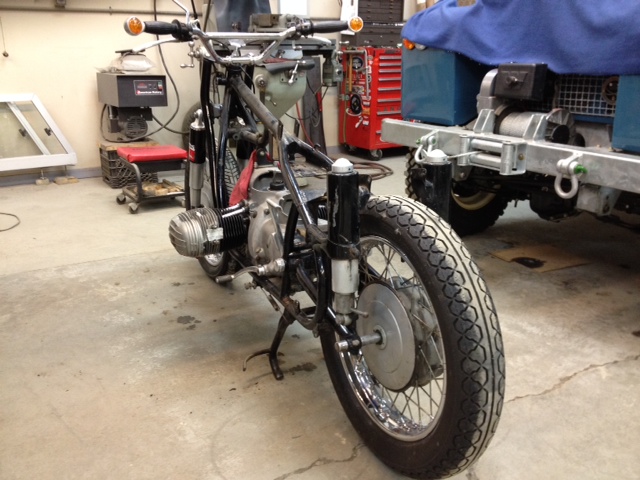
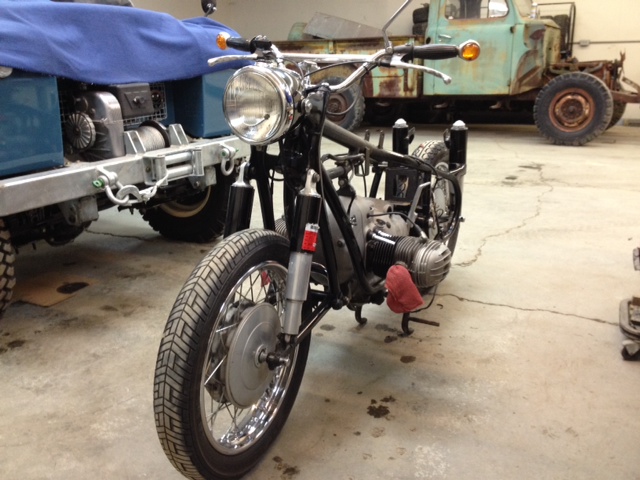
Ok……this would make a very cool bobber………..just sayin’……….
Hello,
Great project! Iain at Craven pointed me here.
I am in the middle of a restoration project on a 1967 R69S. I’ve had it since it had 1200mi on the speedo. I got a set of the large Dolomite bags. I like the way they look with the bike. The bags needed restoration as well. They had been on many bikes in their life. Since your bike seems to have come with the bags you may or may not know that mounting hardware from the manufacturer is pretty much nonexistent (at least from the current owners of the company). So previous owners of the bags engineered their own mounting for their bikes. The result was that I had 70 holes to fill on the flat side of the bags, also a crushed part on one of the lids and separations between the fiberglass and back at the bottom which caused leaks. I have repaired the holes and leaky spots, but I have no good models to use in order to fabricate a mounting system to the bike. Ideally, I would like to make them easily detachable from the bike. I noticed that your bags are using the Dzus fittings instead of a hard piece of mounting hardware. I would be interested in seeing some close-up photos of the mounting of both your rack and the Dolomite panniers. Please let me know if this is possible and the most convenient way for you to transmit them. If you want to add them to your site for others with the same interest or email them to me It would help me a lot. My email is solardaveharris@gmail.com.
Thanks,
Dave Harris