
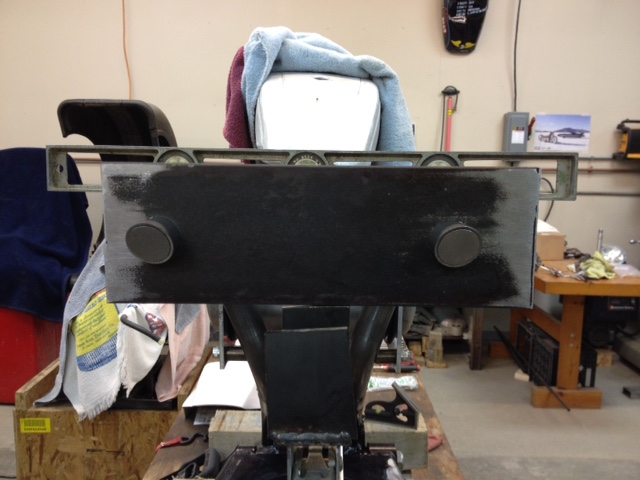
Oil tank is rough mounted up.

Time to work on the tail section rails.
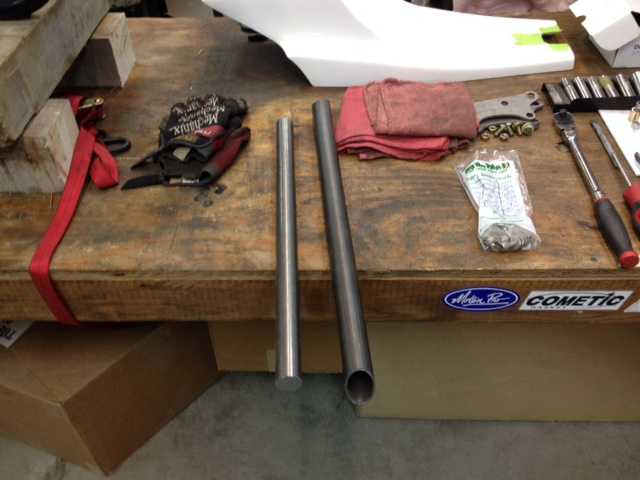
The material, frame tube that matches the HD factory tubing, and solid bar to make the end caps.

Tubes are cut at 35 degrees (matches the rear angle of the XR tail section), photo above is the solid bar turned down on the lathe to match the ID of the frame tubes. Slices will be cut to make the frame tube end caps.

The end cap slugs.
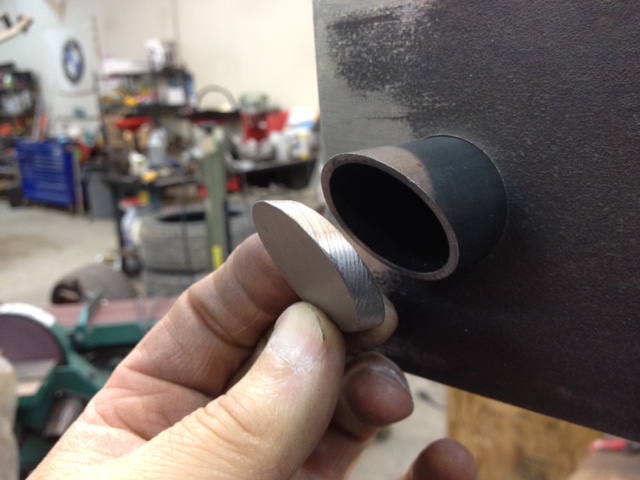
A few taps and they seat right in.

And hear comes the redneck engineering…..the rear frame tubes need to be held perfectly straight and level for welding so some sort of jig had to be made. I had some heavy flat stock left over from a past project, two holes the same OD as the frame tubing are drilled 8.28 inches apart on center using the Bridgeport.
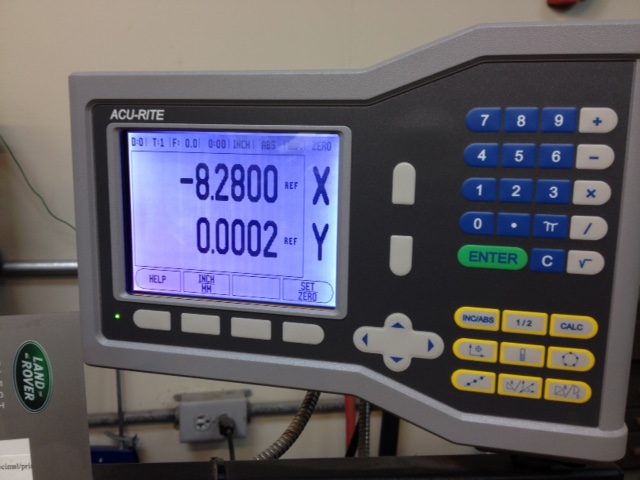
Nice to have a digital readout to speed things up and guarantee accuracy.

Nice snug fit and parallel…….now to take care of vertical fit. Once I’m happy with alignment the tubes will be tack welded in place.

Redneck frame jig……..ok, so the weak point is the scissor jacks, but it’s the best I can do, and everything measures out perfectly. The bike is level, mounted the swing arm, leveled it , used a flat aluminum bar on top of the swing arm, and another scissor jack that will provide vertical support for the frame tubes.
End plugs in and everything is level.

Welded up and dead straight. End caps were fusion welded using the tig torch.
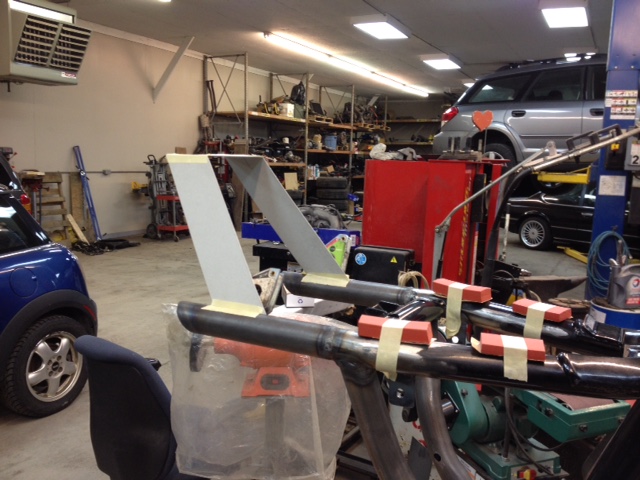
Next is the mock up and fabrication of the XR cowl support. This is my cardboard model…….kind of looks like a Plymouth Superbird wing. More to come!
There is no such thing as Redneck Engineering, only engineering.