Harley Street Tracker in the 2018 Bike EXIF Calendar!

A Series Land Rover and motorcycle hobby run amuck…………..


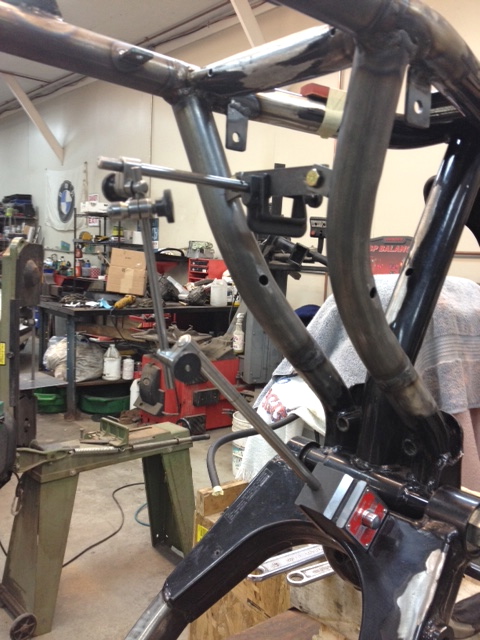
Starting to look like a motorcycle again.

Tank is mounted, fork stops made so no dents in the tank!
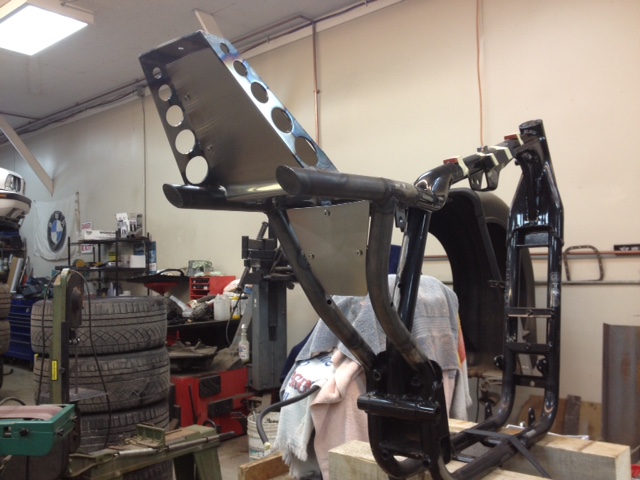
Rear triangle seat support tower parts fabricated…….now you just have to tig weld them into place………straight!

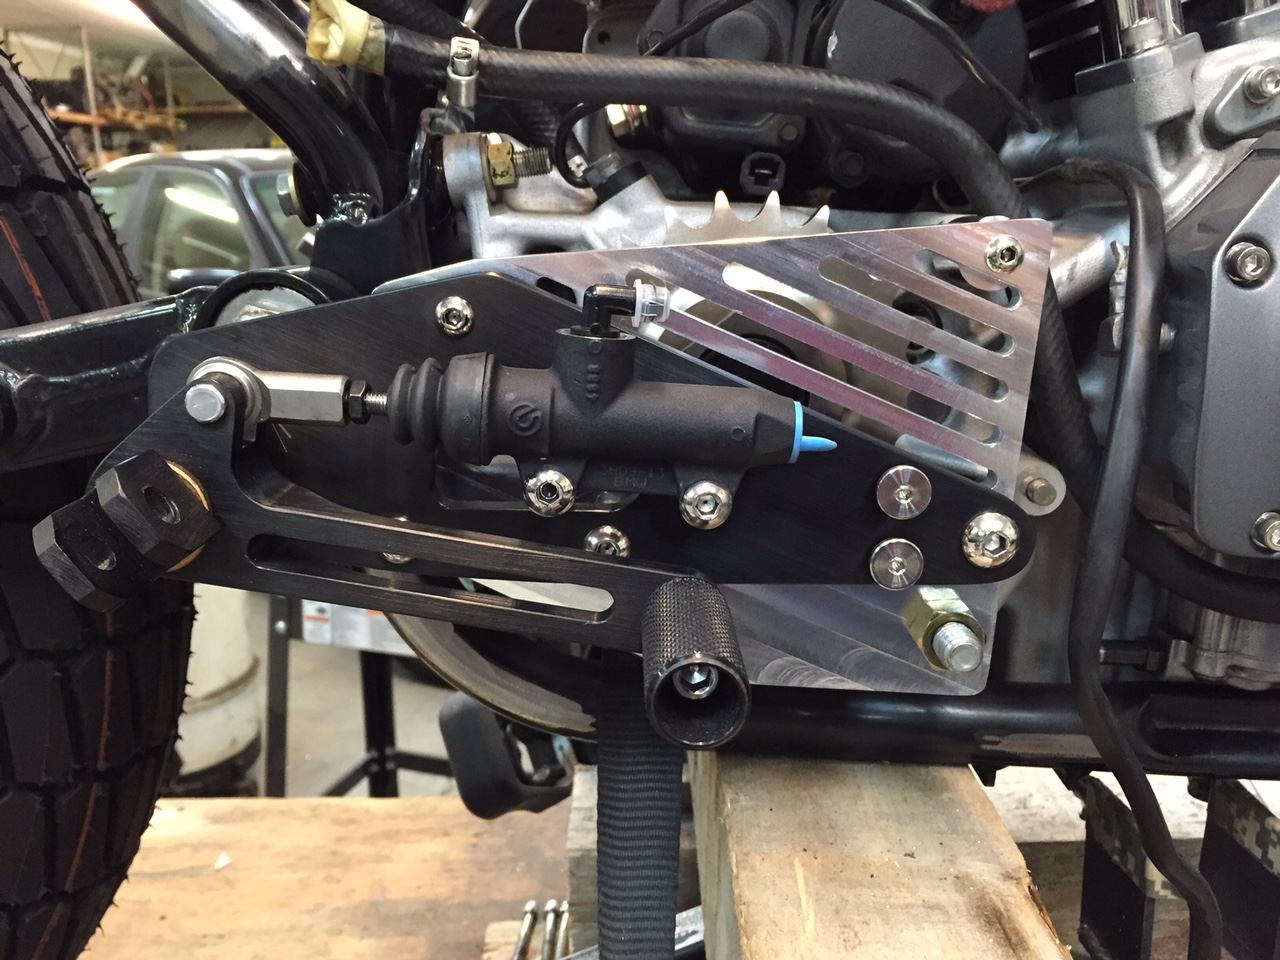
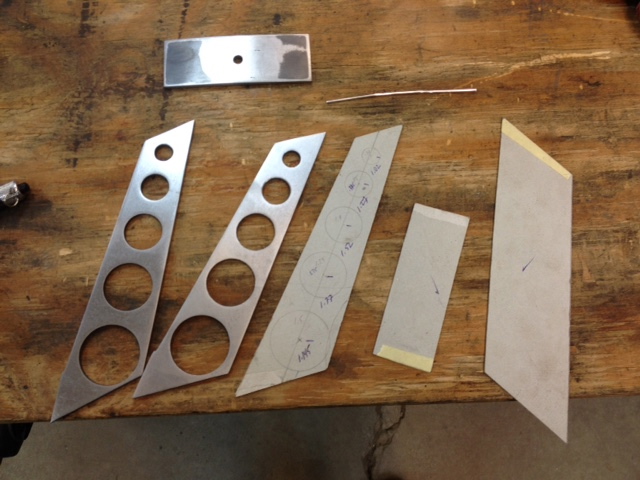
Electronics tray/inner fender fabricated in stainless steel.
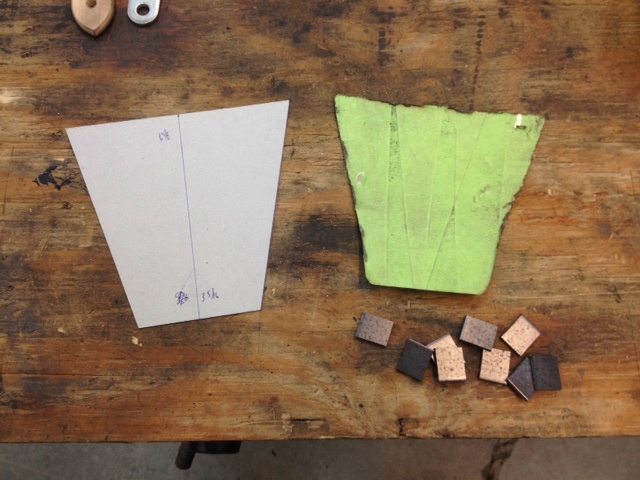
Lower inner fender in stainless and small blocks that will be made into tabs to mount the stainless trays/fenders.

Testing the fit.
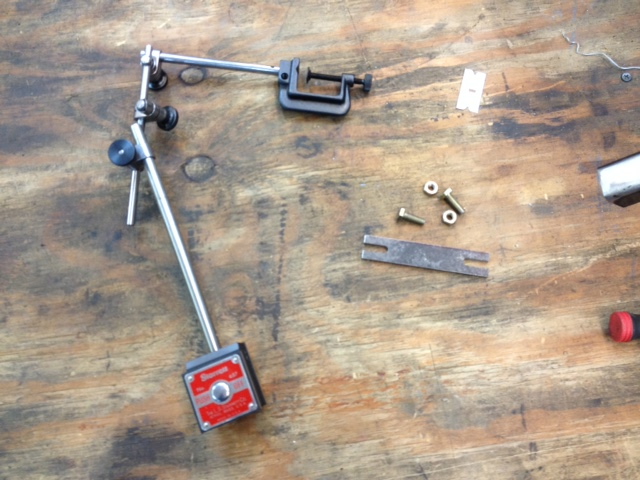
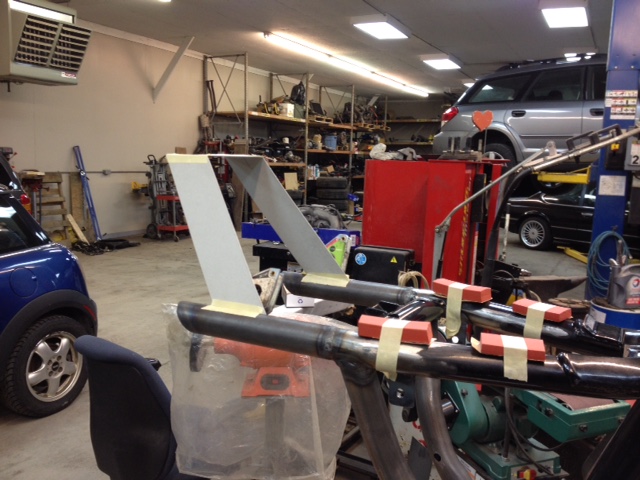
Welding tabs onto round frame tubing and getting them in the right position is a challenge……I use this Starrett indicator holder and a few home made jigs to hold the tabs in place for tacking.
The tab-rig in place.

Tabs ready to be tacked into place…….accurately.

In place………and it took way more than 20 minutes!!
Another look………sadly it’s a part of the bike that will really never be seen, but it looks pretty cool!

Moto gadget M Unit in place. I purchased all the Moto Gadget parts (M Unit, M Switches, M Button) from Revival Cycles. Good guys down there and some great eye candy on their site if you need inspiration.


Added some color to the engine……all the raw aluminum will be coated in BMW Frozen Gray
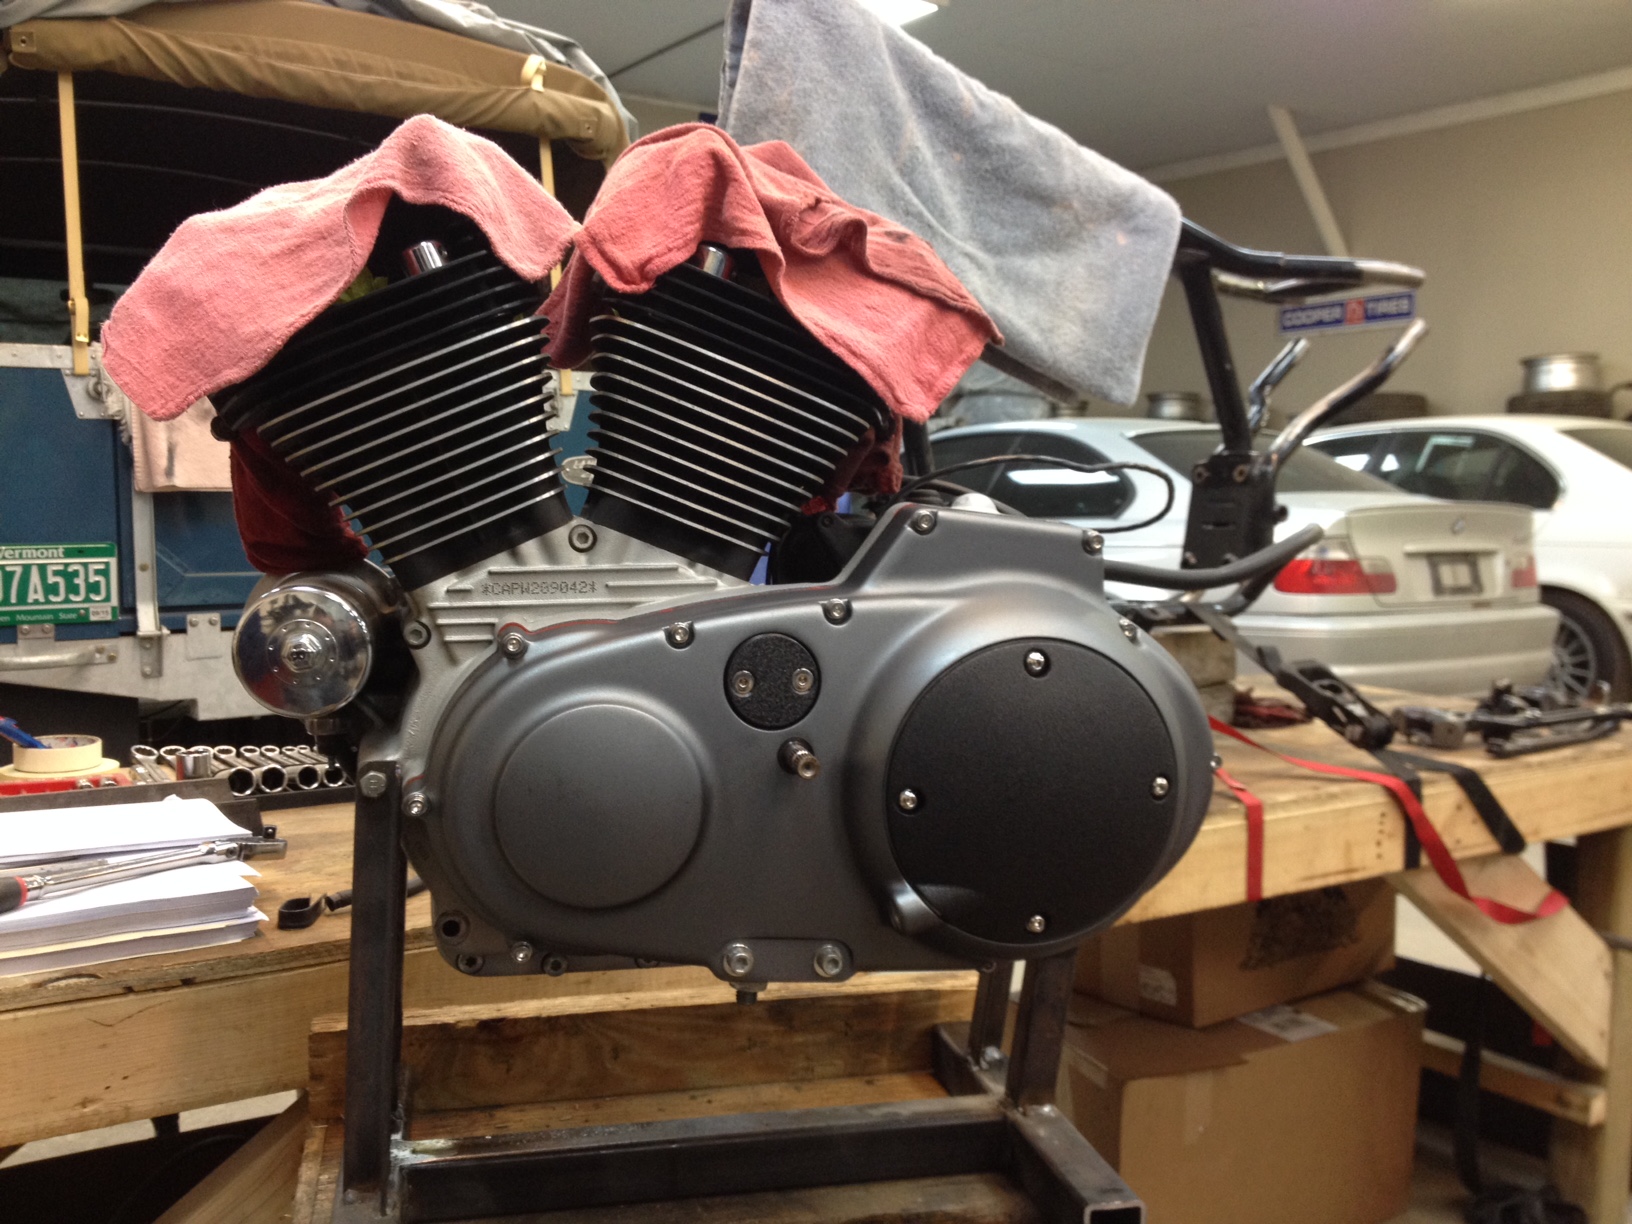
Derby cover and primary chain access port in wrinkle finish

Making frame plugs to reinforce joints where new rear triangle pieces join

1 1/8″ diameter solid blanks are cut to three inch lengths, then rough turned down on the lathe to the inside diameter of the frame
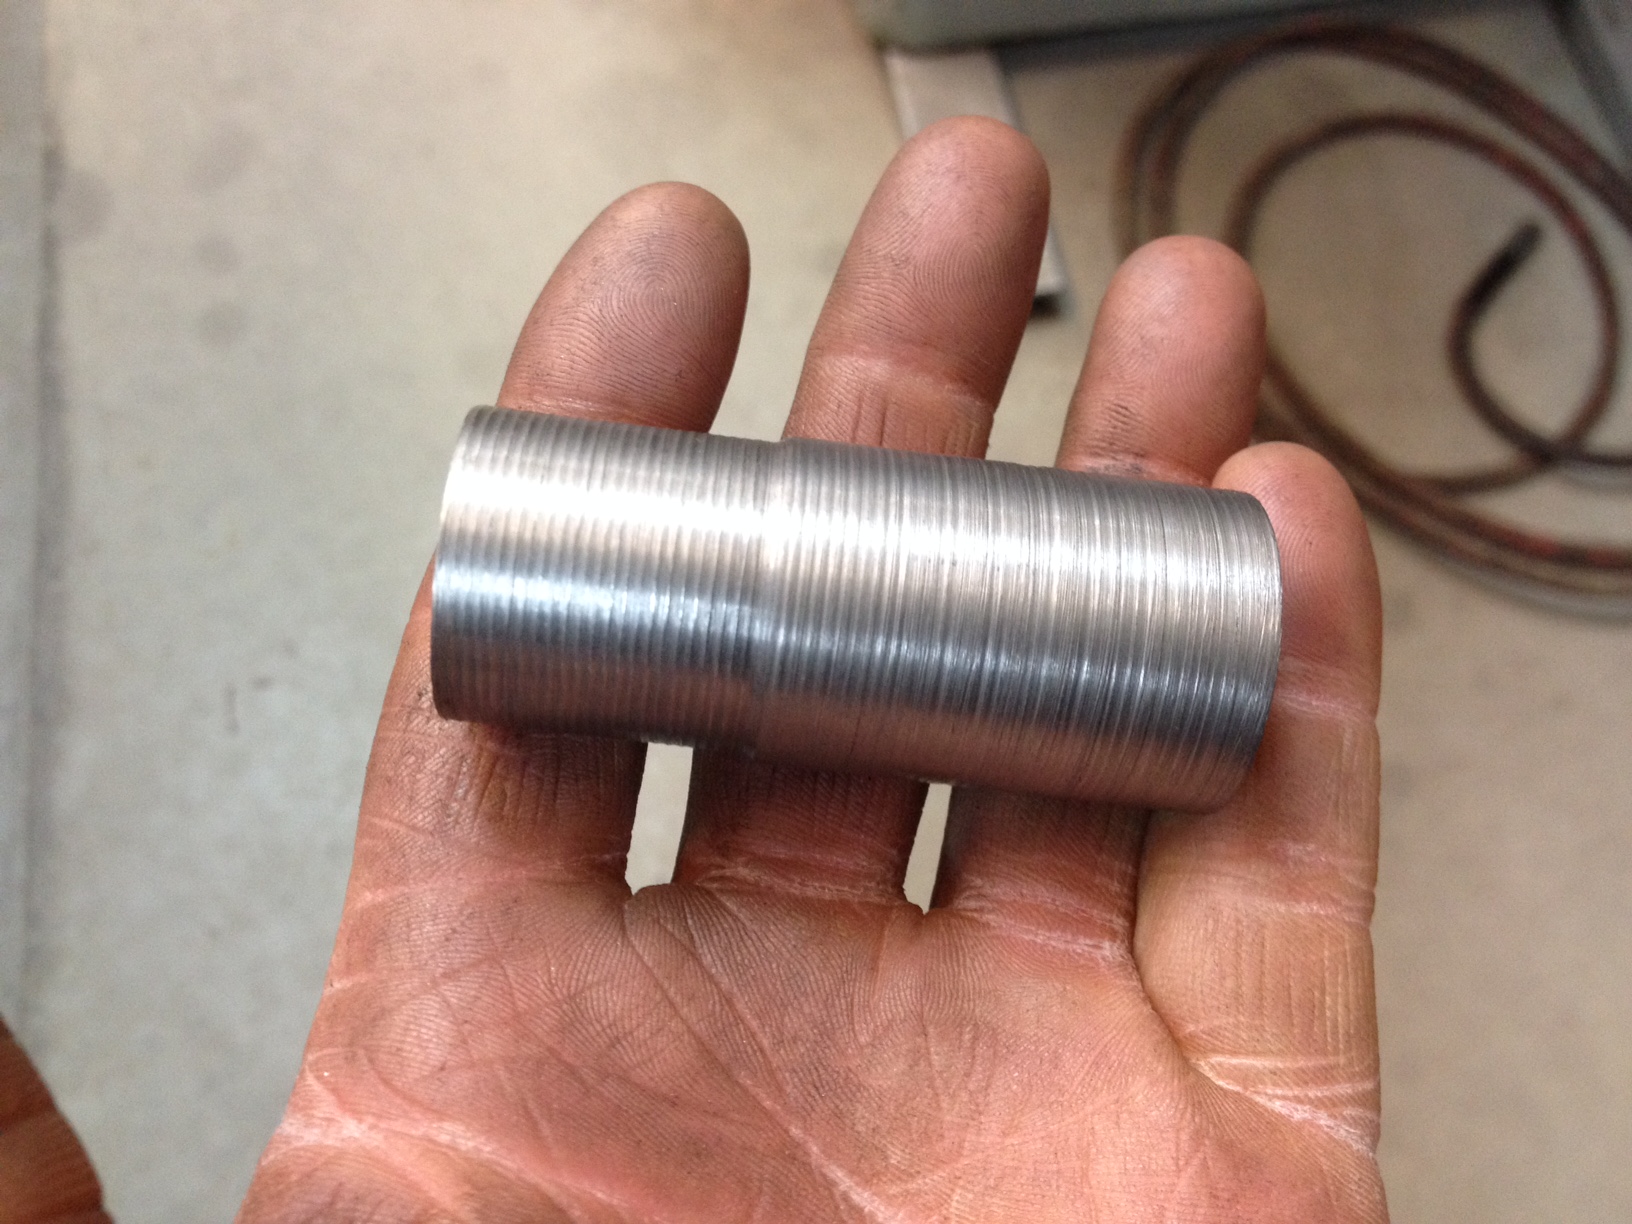
Rough turned blank
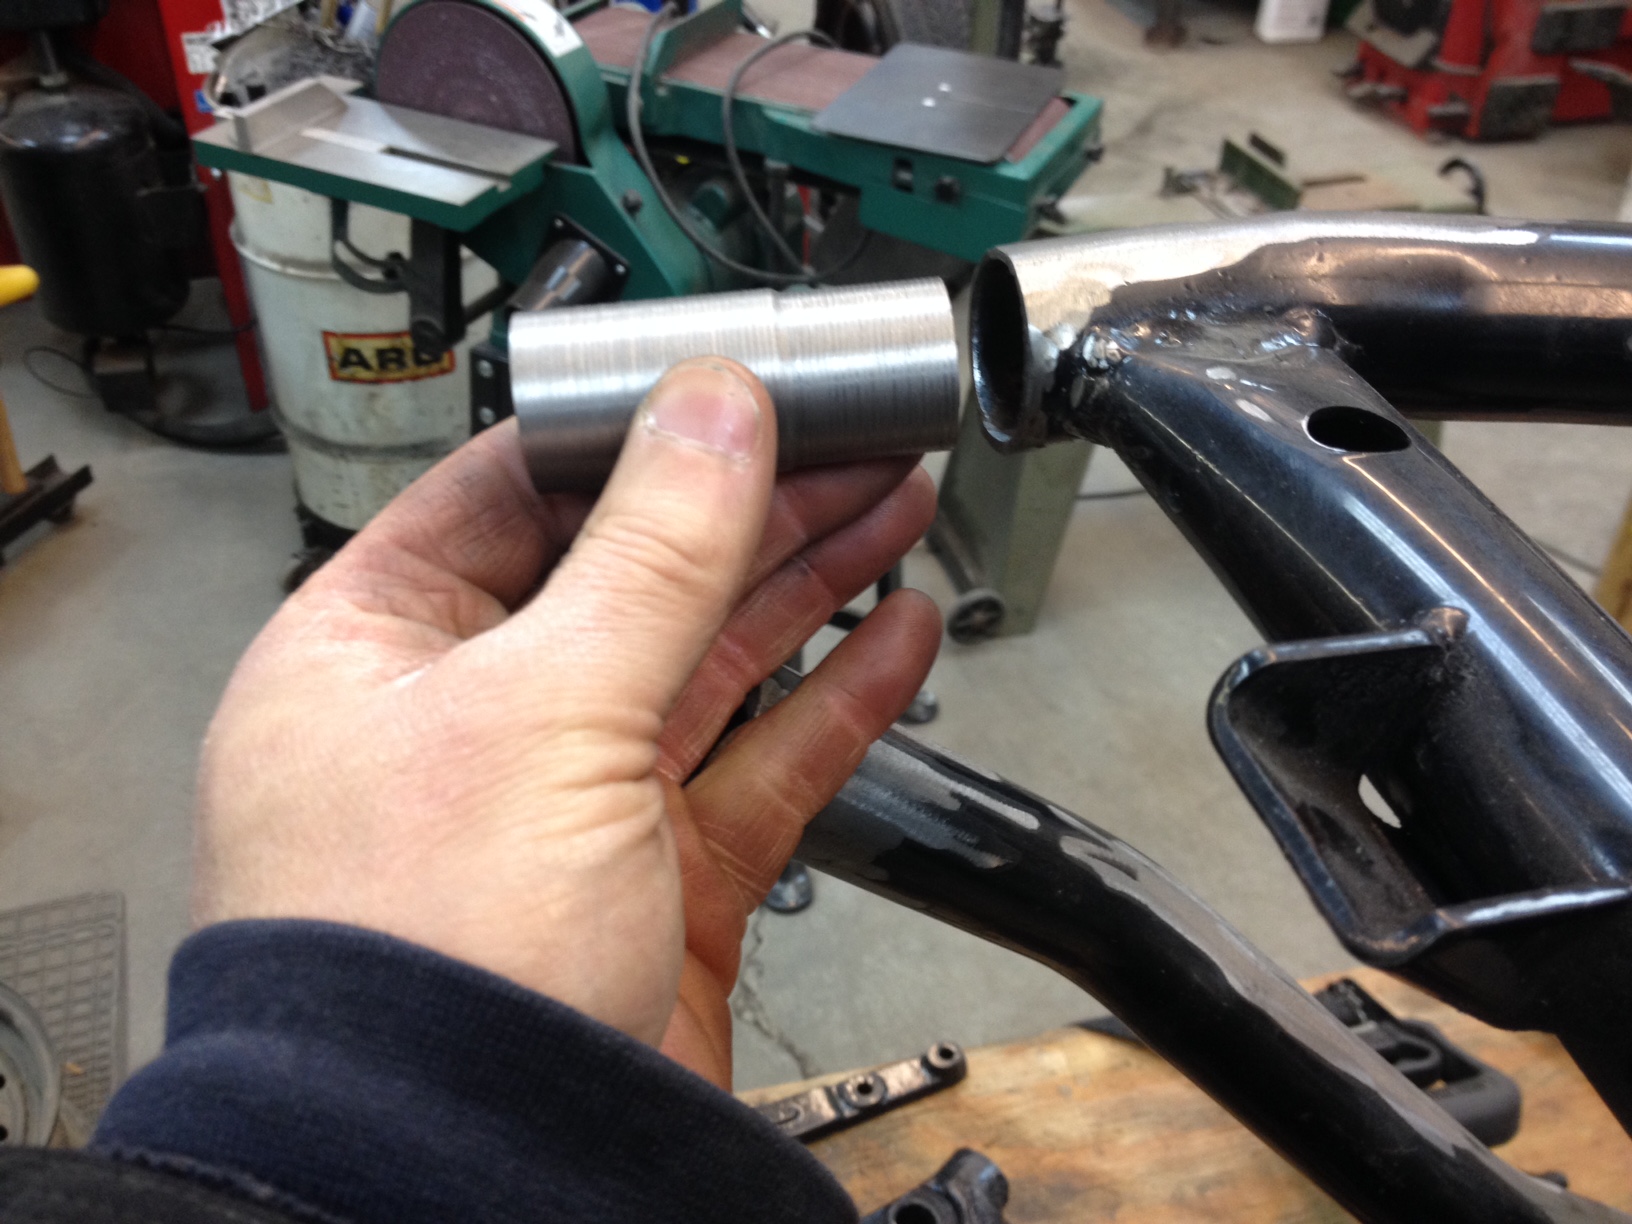
The rough turning leaves ribs that bite just a bit when pushed into the frame tubing
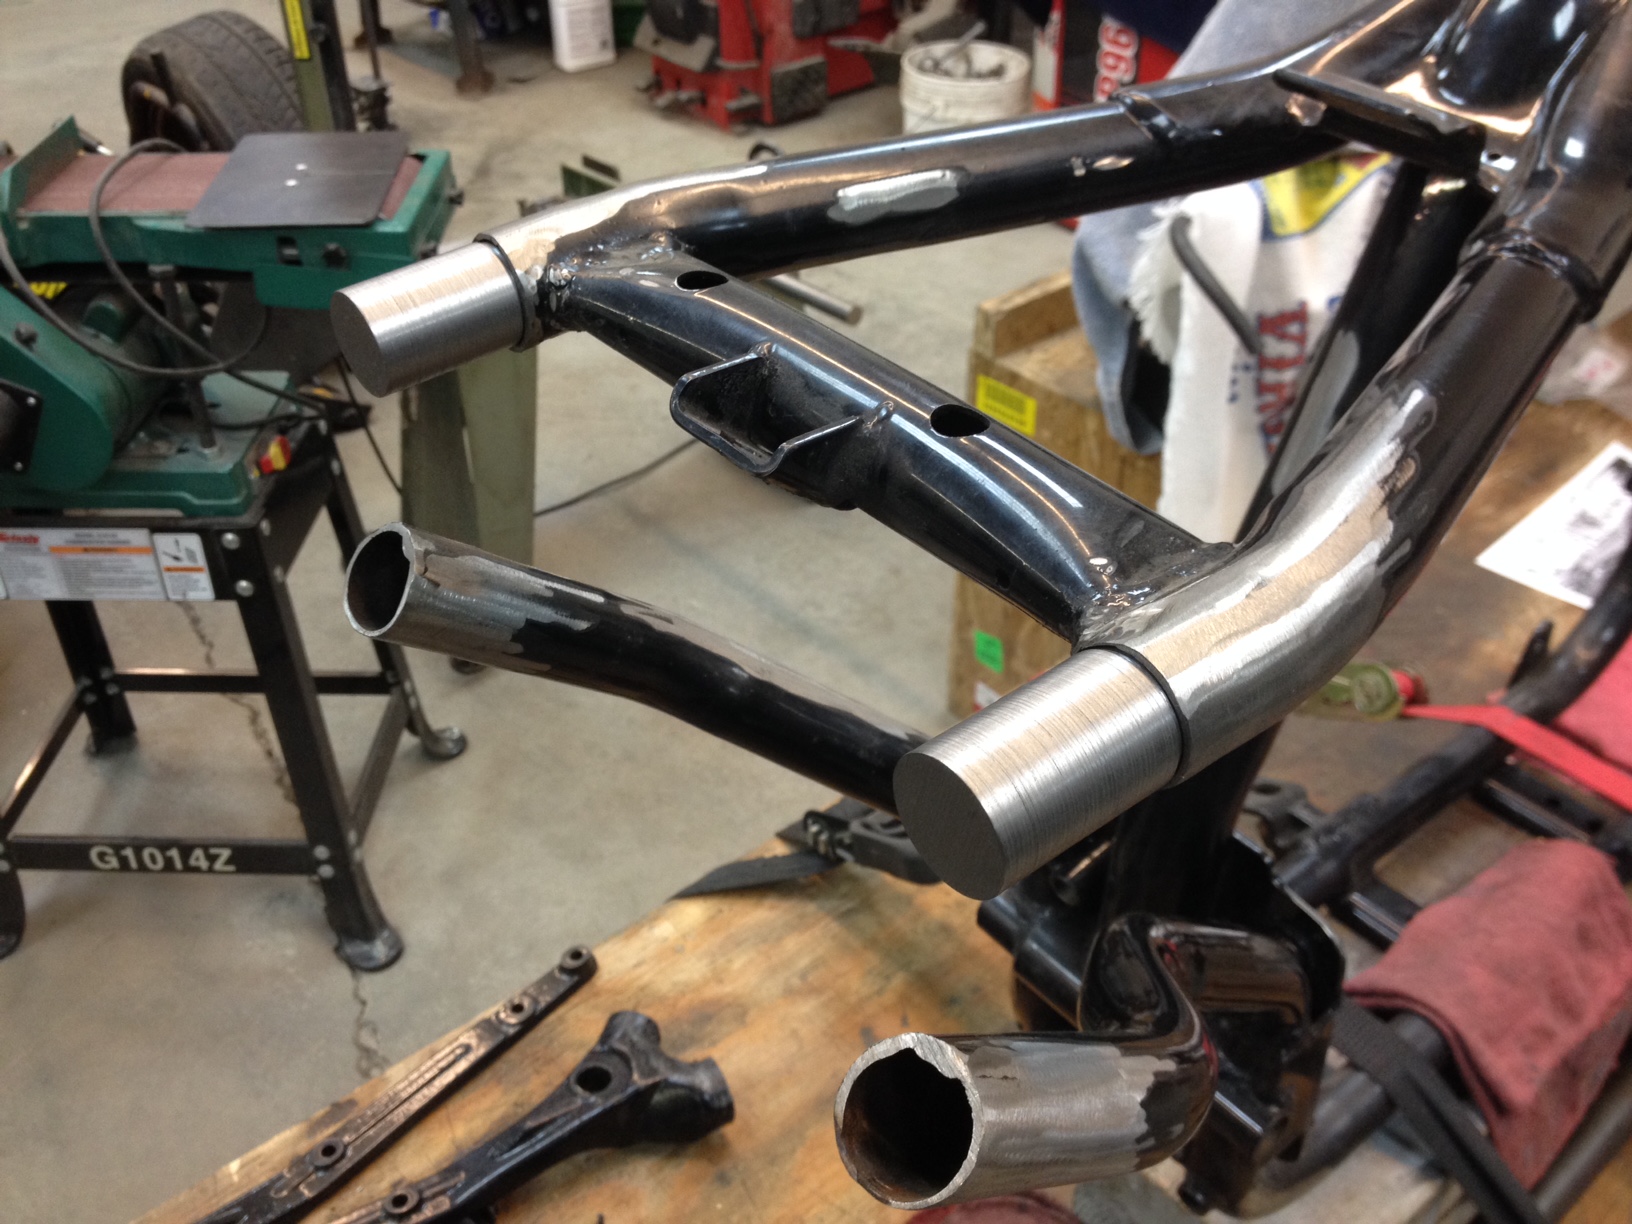
And in….when the rear frame tubes are completed, installed, and aligned, holes will be drilled through the new and existing tubing then plug welded, after that the joints will be tig welded
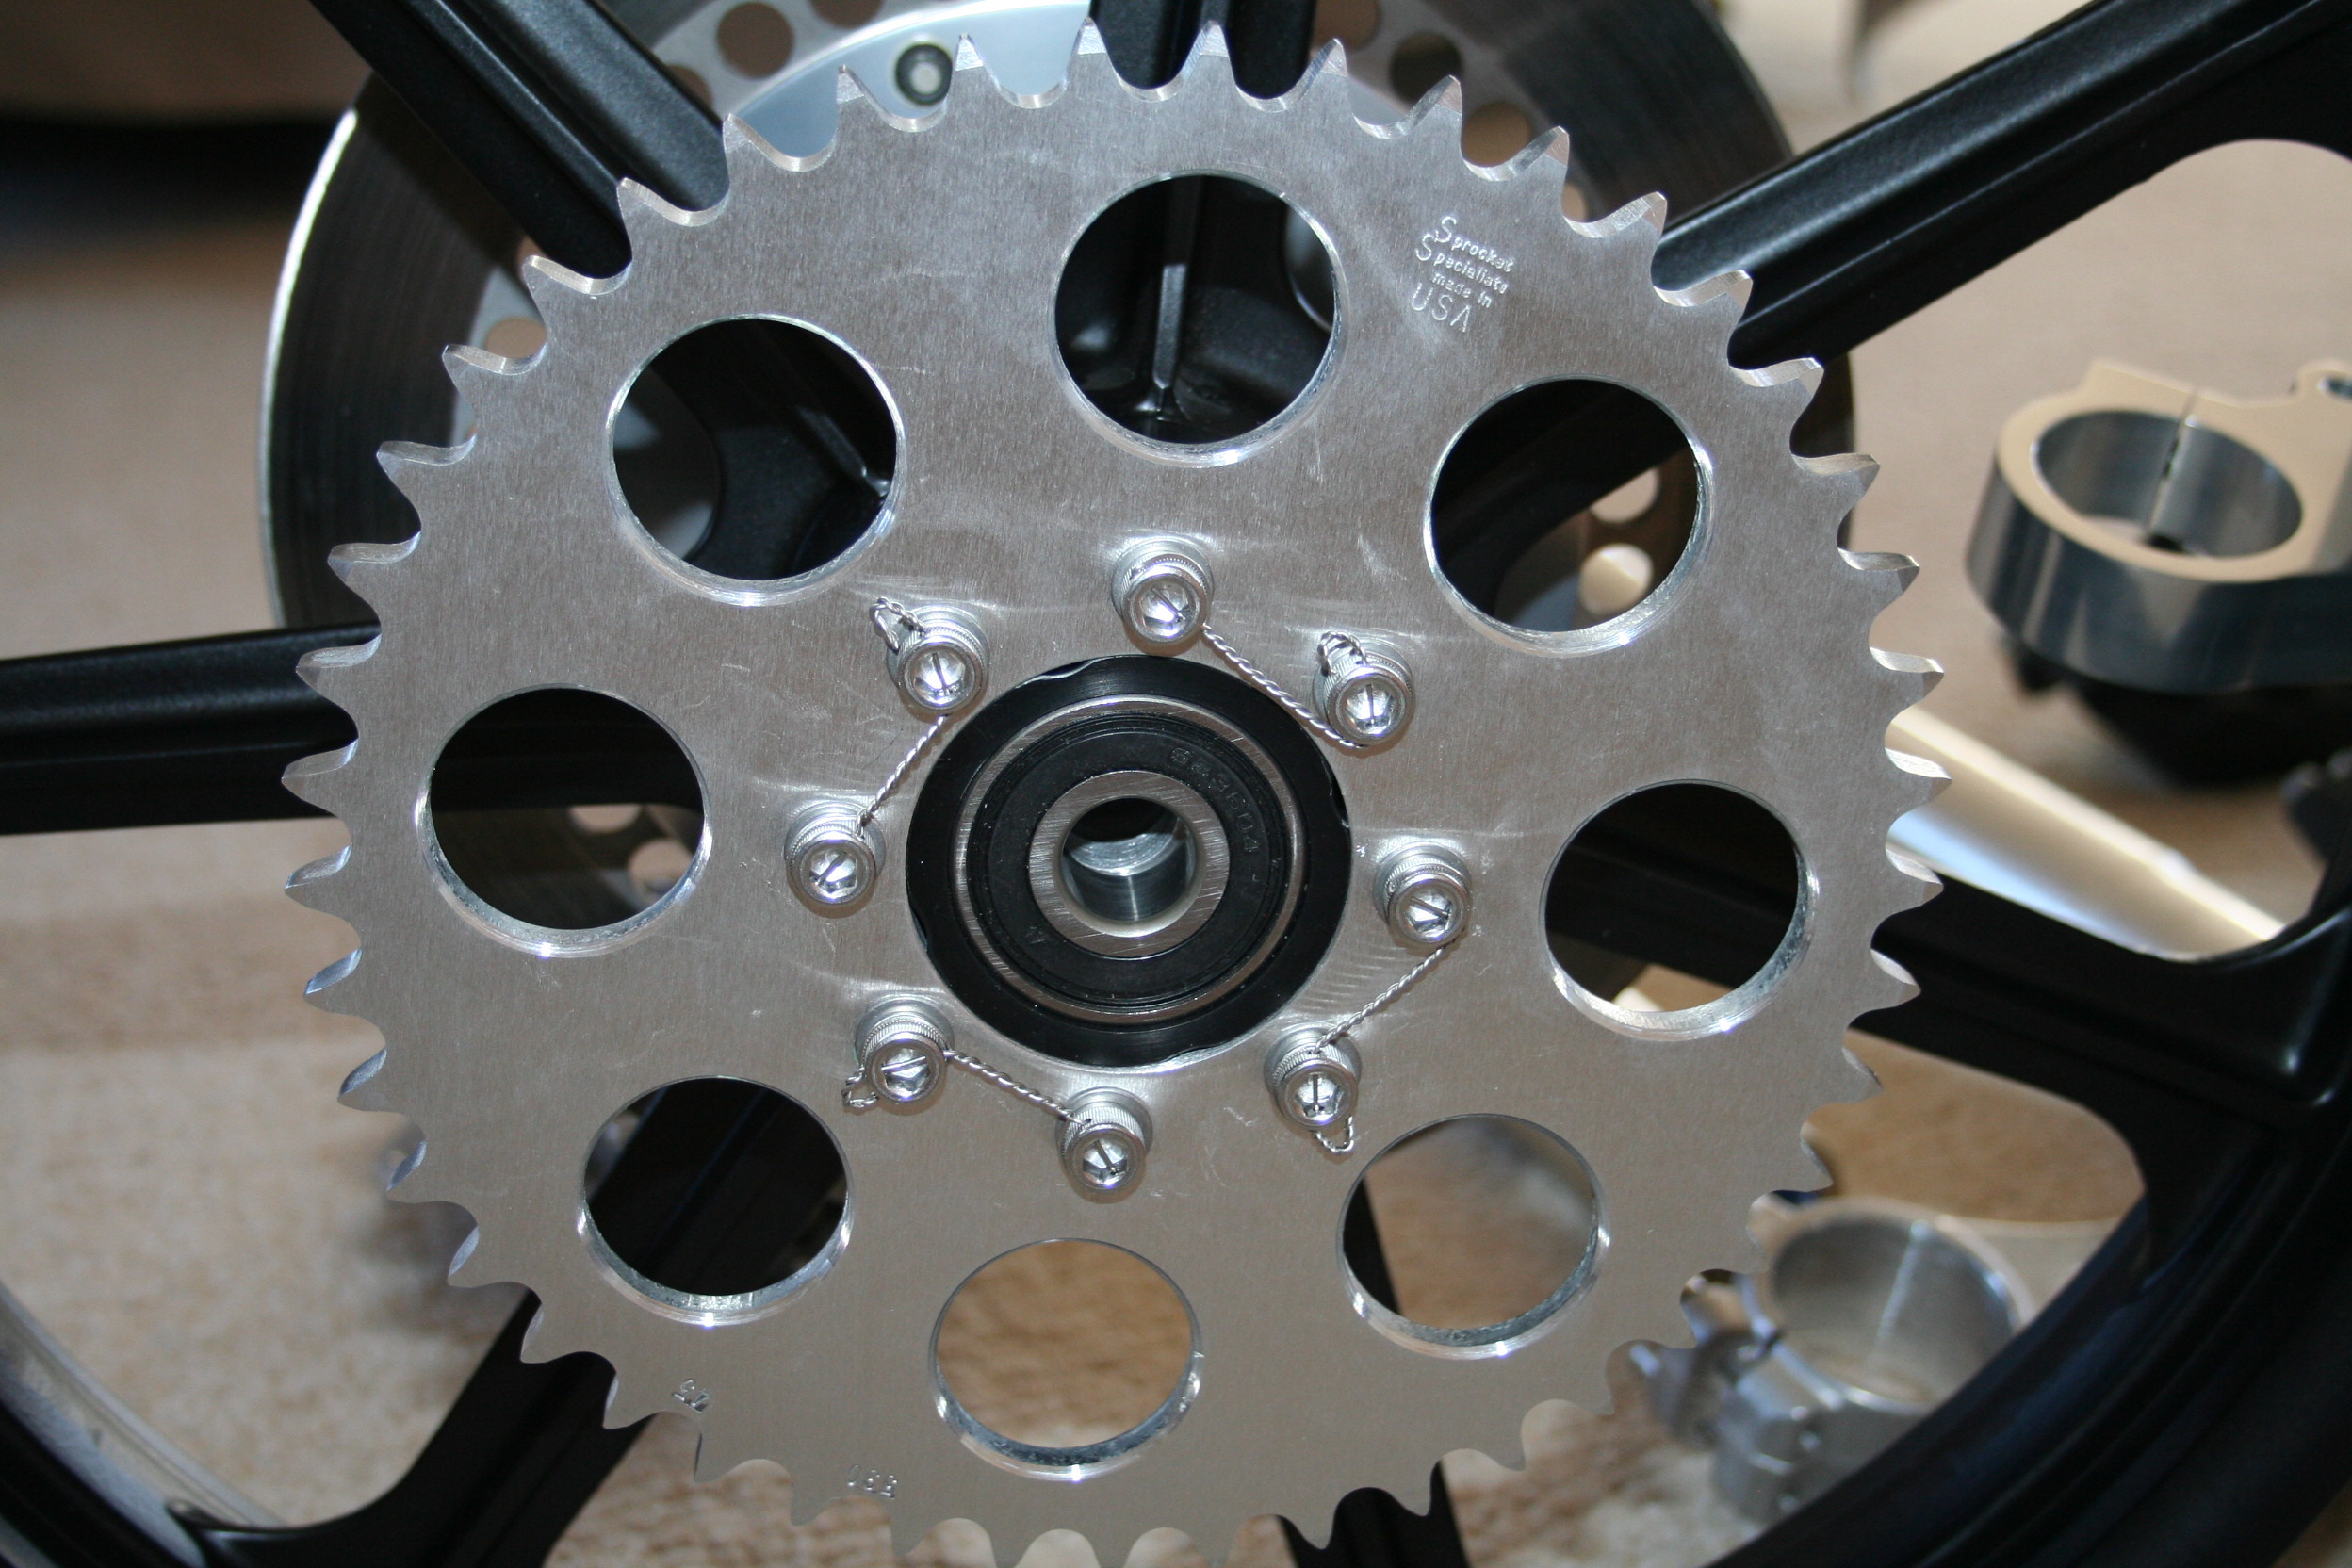

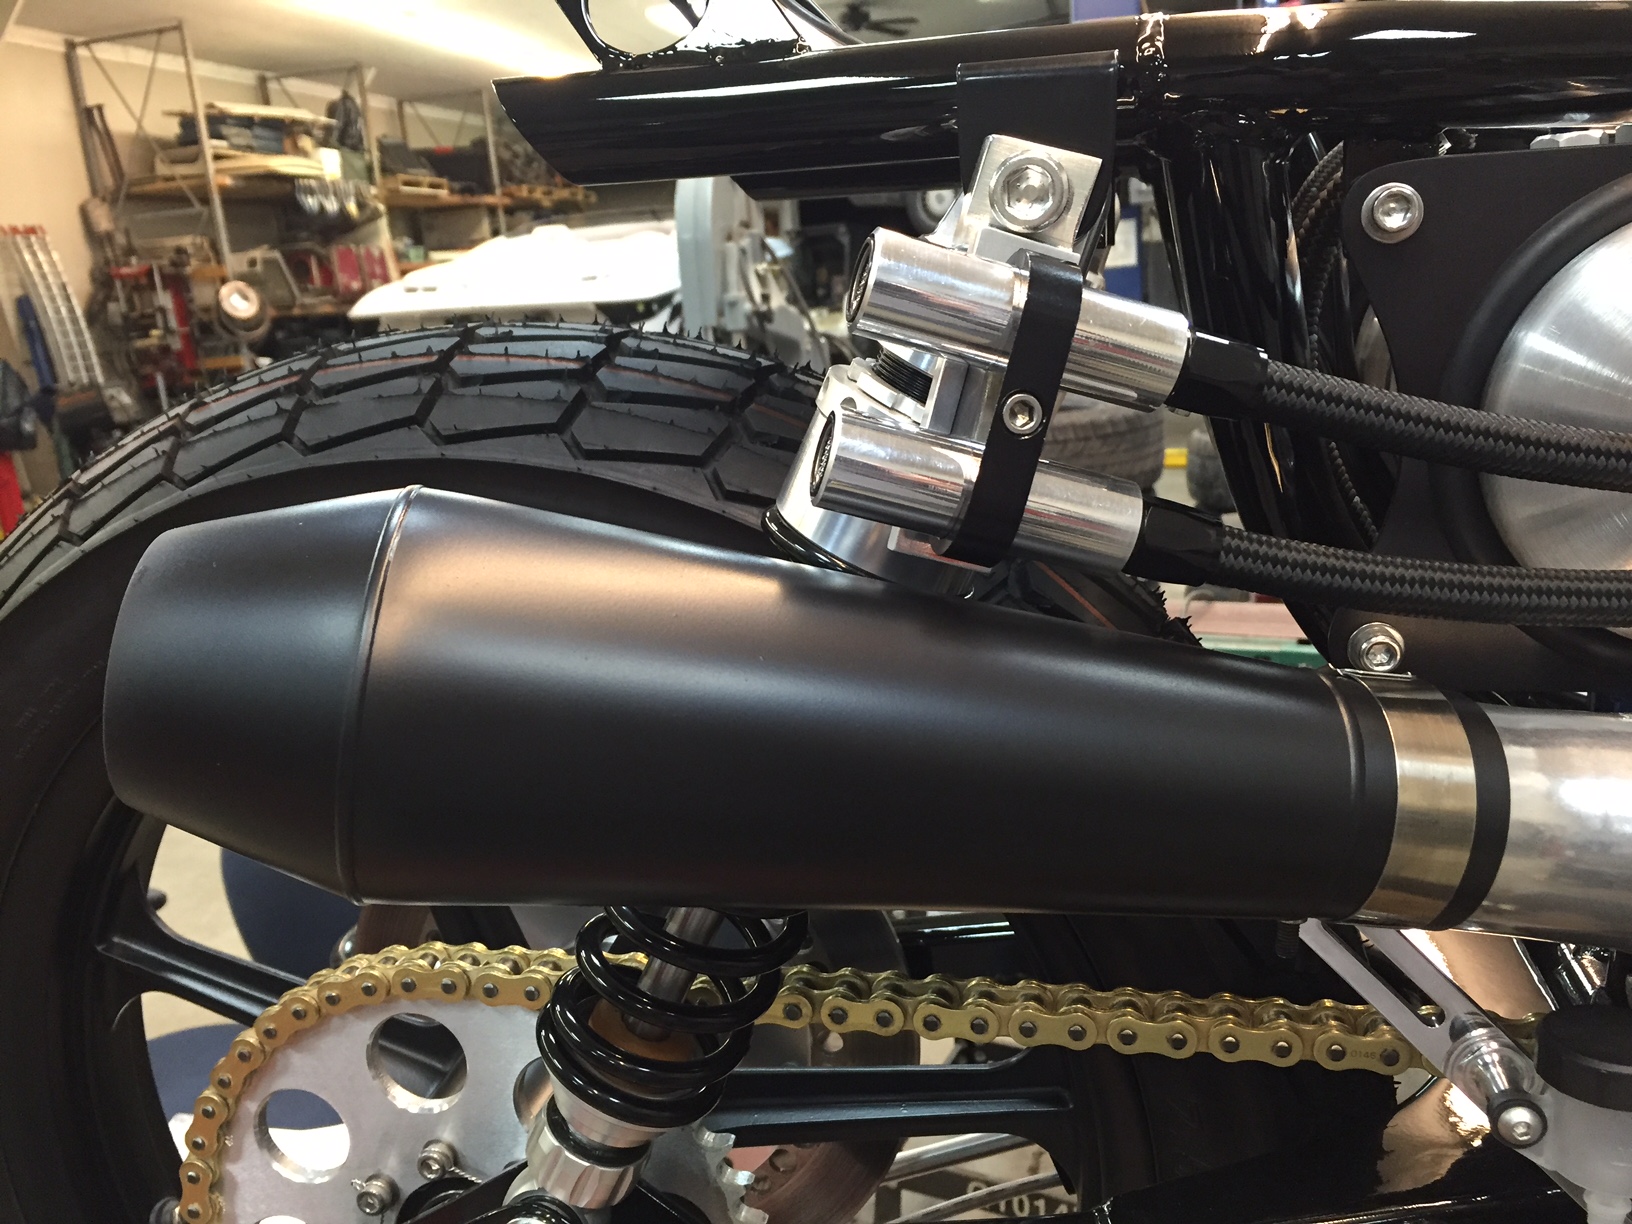
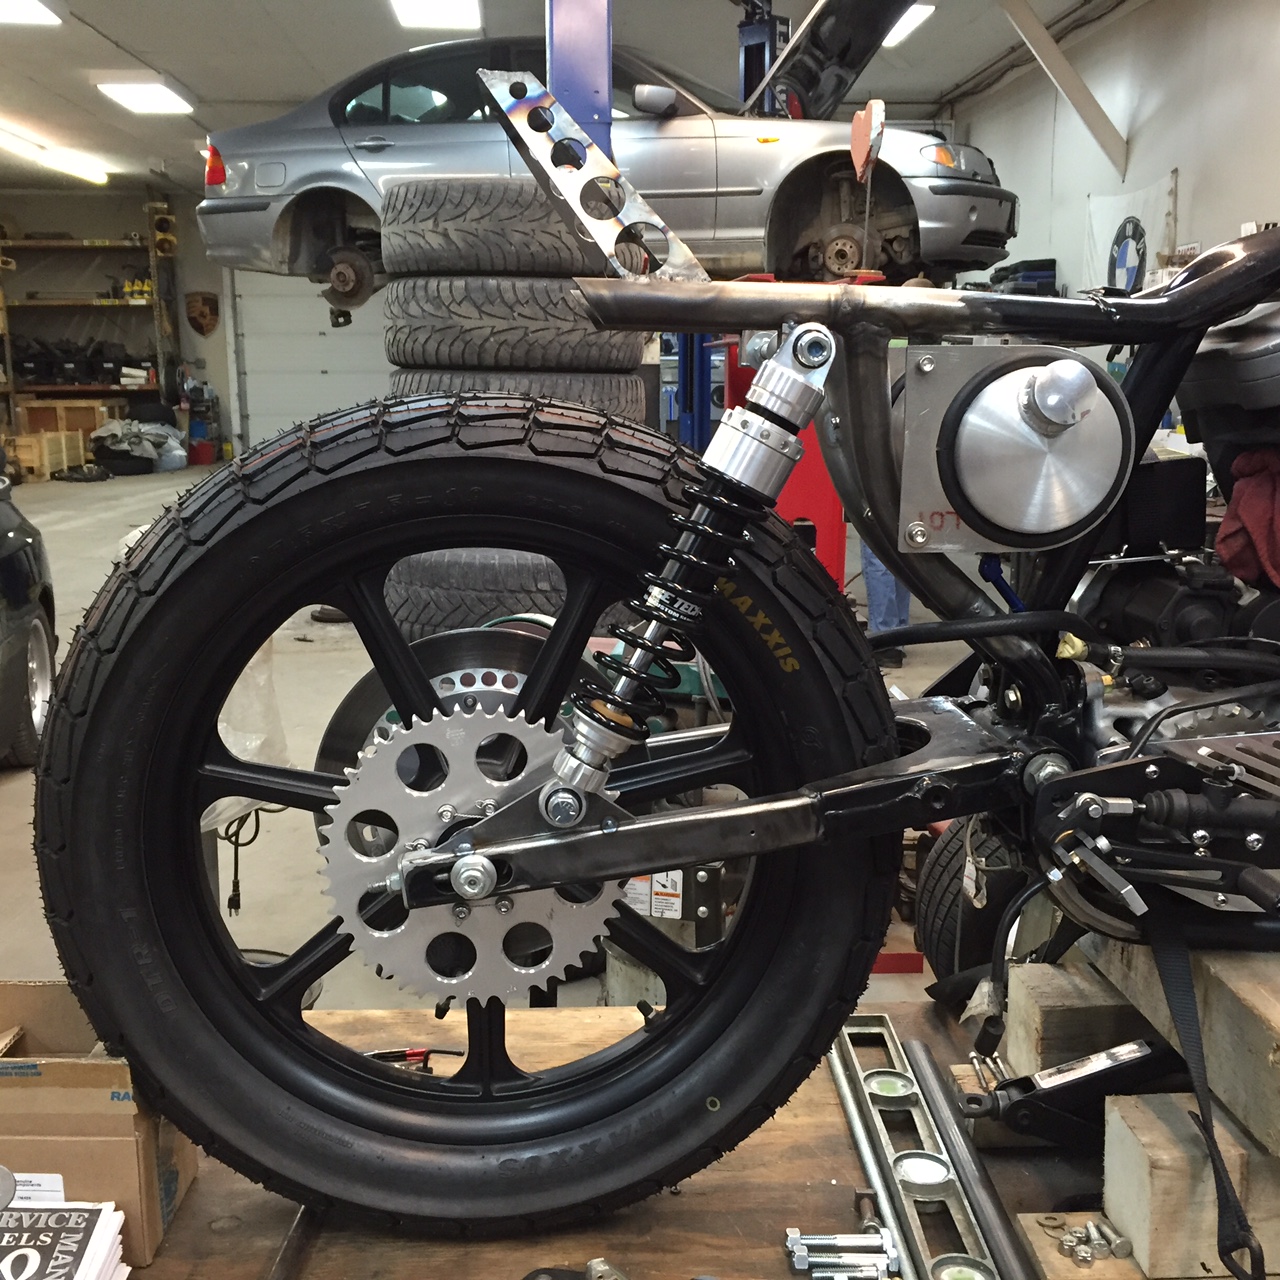
Richard Pollock/Mule sent some teaser pics today for the wheels he’s building for the XL1200……widened and all “rotor’d” up front…….beautiful work

And the rear
The rear “stopper”……..can’t wait to see these in person

 Ok……wiring is definitely not my strong point……..I can tig weld two razor blades together, but can’t solder worth a shit, have always gone to the local hardware store for blister packs of crappy connectors (thank God for britishwiring.com for their complete Land Rover harnesses….they make it easy), and have wiring tools that I think may outdate me……see below.

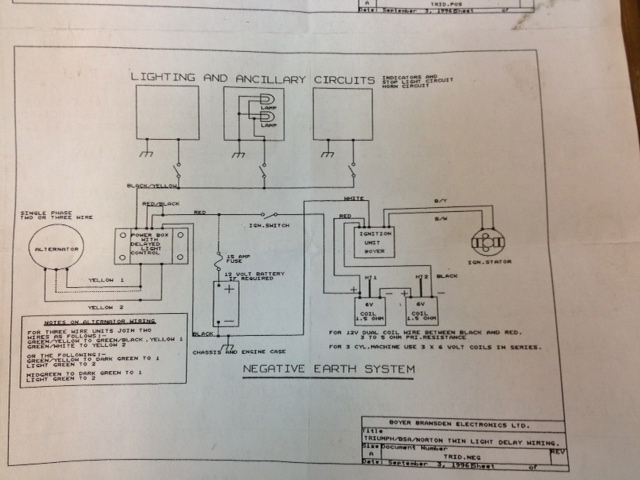
The Triumph Desert Sled requires a complete “one-off” wiring harness that I’ve been putting off doing for weeks……….no……..months. Battery-less system, Pazon ignition, Boyer Power Box battery eliminator, only one 12V coil, no key, just a kill switch………lots of connections.
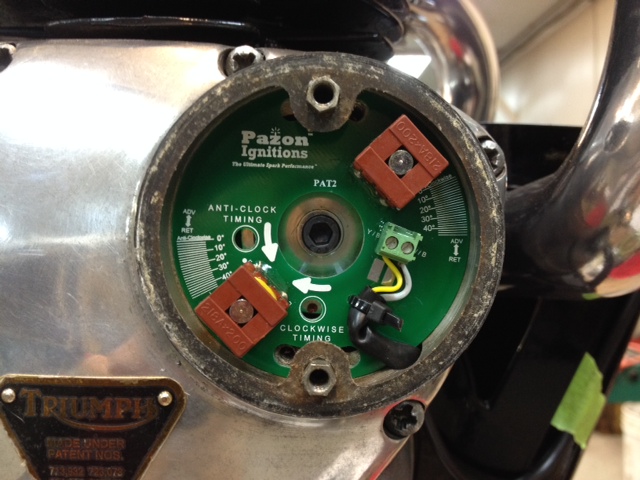
Pazon ignition.

The under-tank set up.

Other side.
I’m not going to give a step-by-step on how to do this…….it’s actually pretty simple. What I want to do here is hopefully help others with a recommendation for a really slick kit that will make wiring up your custom built motorcycle a breeze. A couple of months ago Bike EXIF posted an article on how to wire your custom motorcycle:
http://www.bikeexif.com/motorcycle-wiring
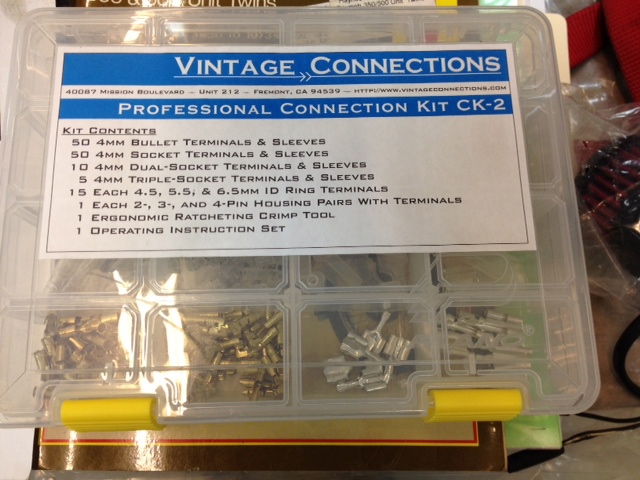
It’s a very helpful piece. One of the suppliers recommended in the article is Vintage Connections. They sell everything you need to complete your motorcycle wiring, including high quality tools. I bought the set above that will wire several bikes and their recommended crimping tool, single bike kits are available.
http://www.vintageconnections.com/
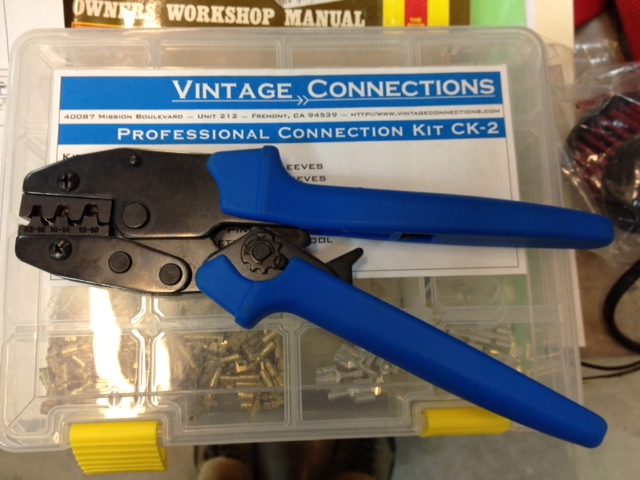
This kit made the Desert Sled harness a piece of cake to construct……….I still had to figure out how to make it all work together, but once that was done I just had to start cutting and crimping. These are super high quality kits that take some of the tediousness out of wiring, and will make you look like a wiring hero!

No more hardware stores, old tools, or fighting with solder for this kid.
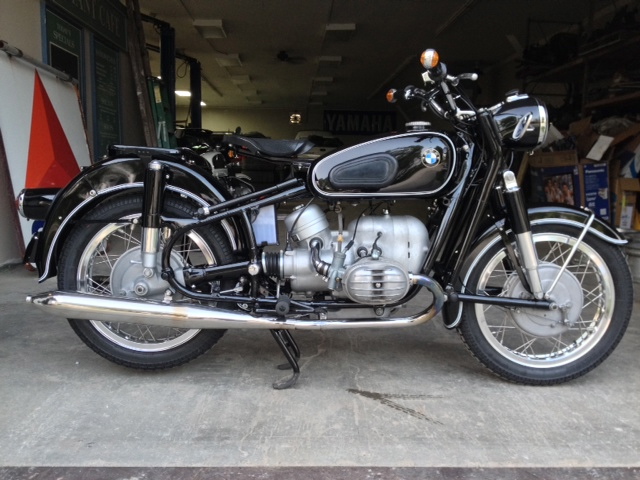
90 days beginning to end………tickled the Bings, six kicks and the old /2 fired right up

I had static timed the bike, once it was running again I got the old timing light out and the dynamic timing was spot on
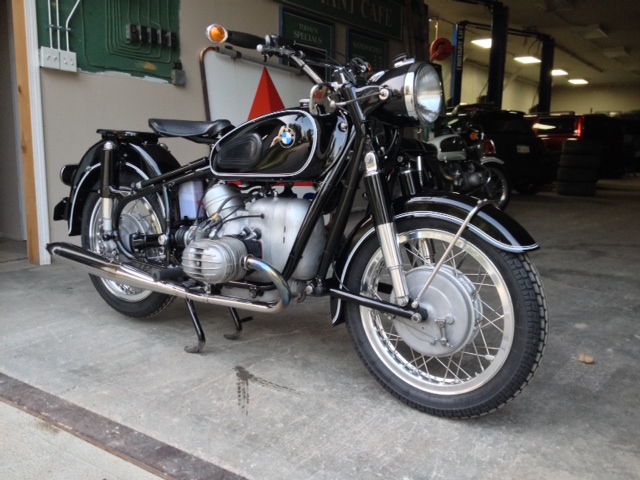
Let it run for a few minutes, shut it down, gave it yet another “once over”, nothing blatant……both carbs had dripped a little fuel, but that’s normal with fresh washers, that’ll stop as things seat…….nothing that screamed “don’t ride it”, so on went the helmet and I headed down the road.

Ran like a champ, all lights work, horn toots, blinkers flash, brakes grab well, clutch grabs, tranny is like butter, and the damn thing just flat out rides great………..once it was up to temperature it had a slight stumble off idle, common for these old Bing carbs, the fix is 1/8 to 1/4 turn richer on the air/fuel mixture screw. Tomorrow I’ll set up a couple of fans, get the bike up to temp., and do some fine tuning of the Bings and do a “by ear” carb balance…….details to follow.