While waiting for the new transmission to show I’ve been brining some small parts back to life.

Vent screens, very expensive to replace, so worth putting some time onto. The metal screens themselves were rusted, the frames were badly oxidized, and of course, they were painted blue.

This is the paint stripper that I use, not the best, but far safer than aircraft stripper. Available at your local hardware store. Brush it on, let sit for a day or so, then scrape, wire brush, etc.

I use these stainless, soft brushes for cleaning the screens themselves. I get them from McMaster Carr. Once the screens are clean, gun site down their length and get any dents out, the mesh is steel and has a wonderful memory. Next up I polish the screen frames, they come out a bit too shiny, but when left out the alloy will dull down a bit.

Lastly, I tape off the polished frames and paint the cleaned up screens with Krylon Metallic Finish. I got this idea from the Barrington Motor Works BMW R60 Restoration manual. I used this on the hub plates of the ’68 R60/2, they come out looking like new metal, so, I now use on vent screens.

The starter button, also was covering in blue, and a whole lot of oil on the engine side. Degreased, paint stripper, Alumabrite, then polished.
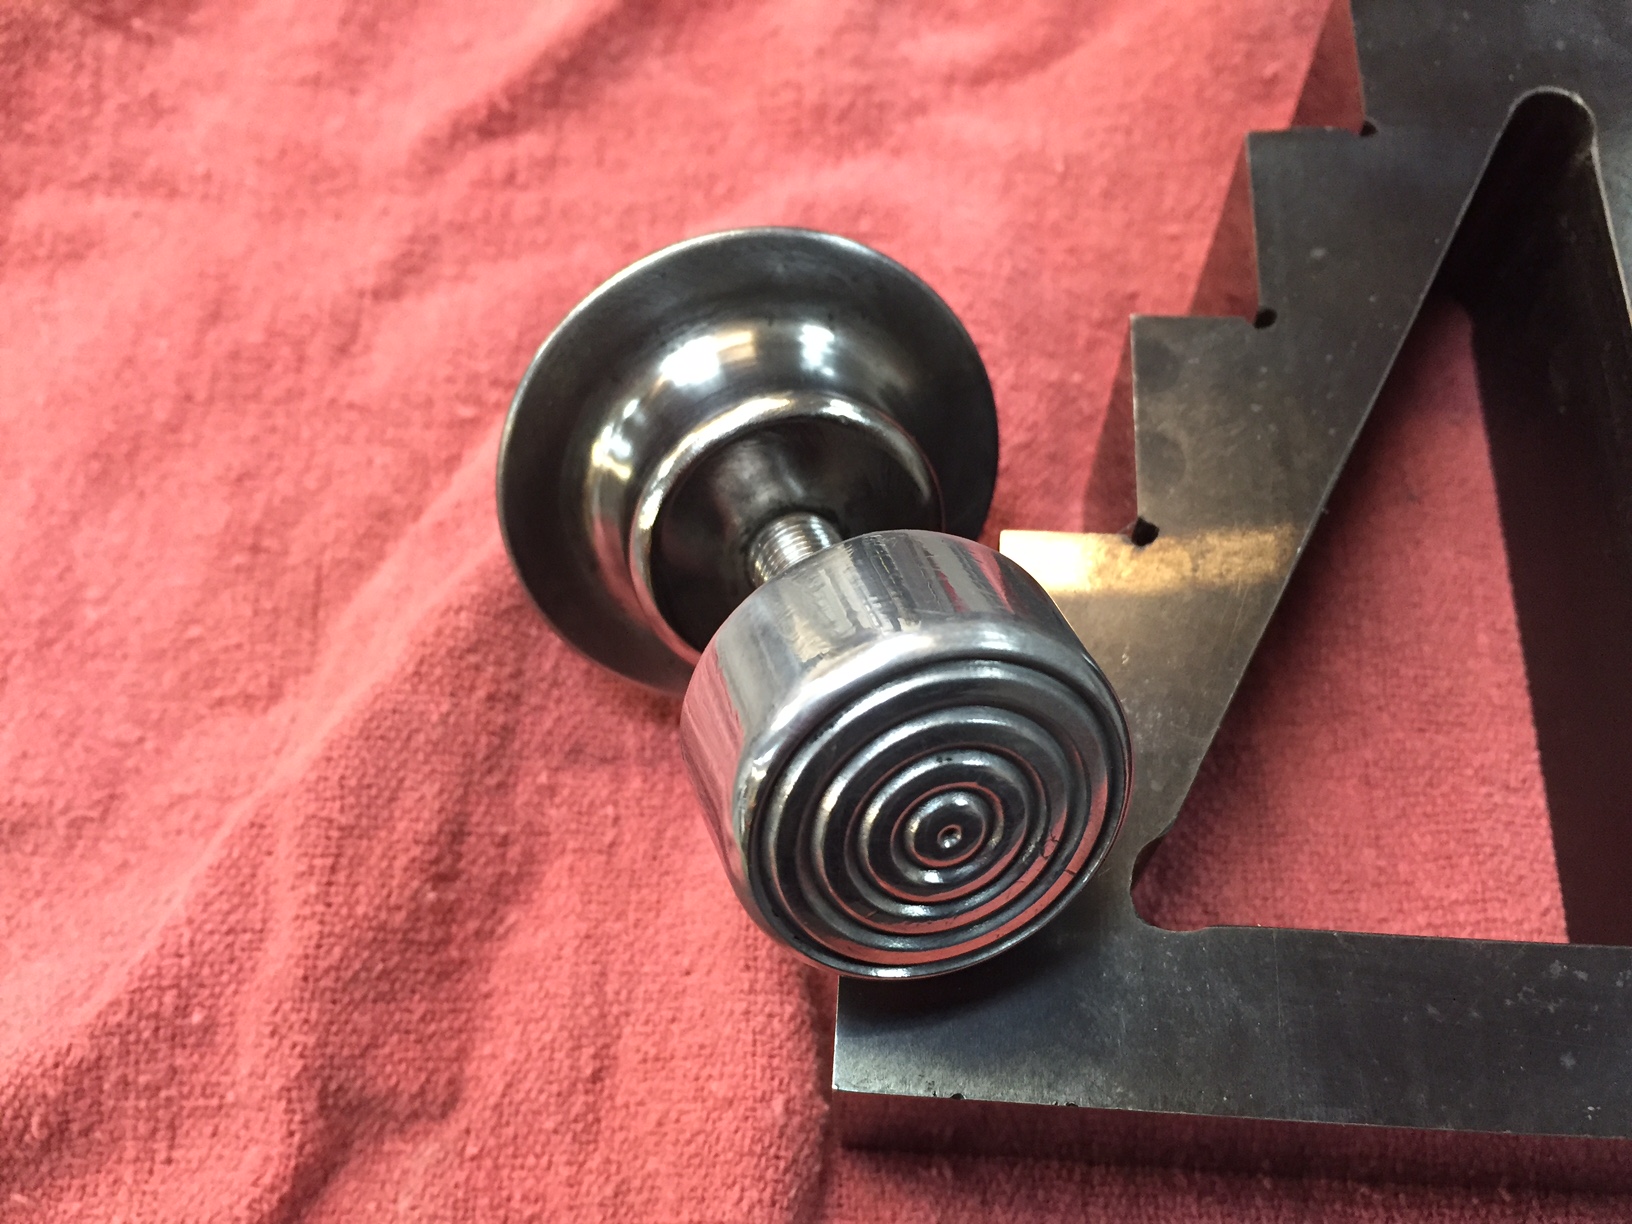
The polished button.
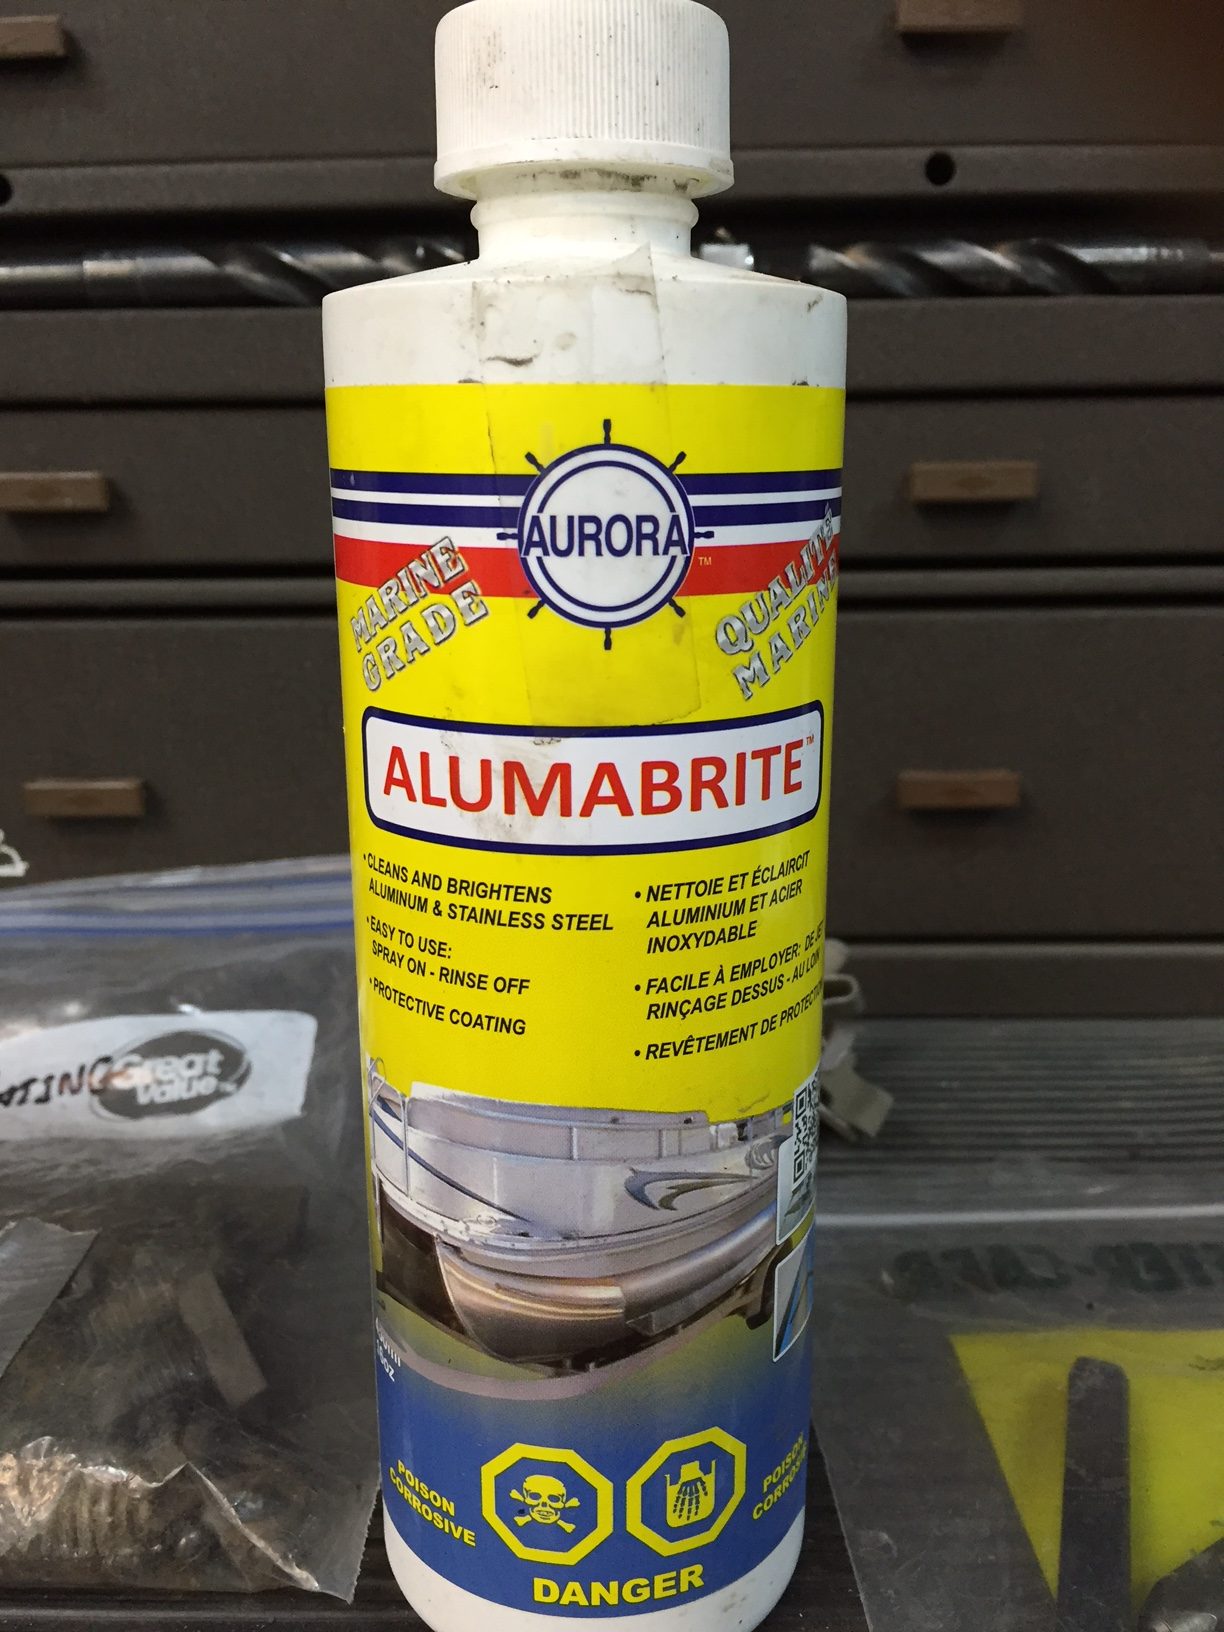
Alumabrite, another Barrington Motor Works suggestion. Cleans up anything aluminum. The part has to be very clean, de-greased, and dry. This stuff is not so friendly to use, but does a wonderful job, wear gloves and eye protection, and practice on a couple of old parts first. If left on too long it will etch your aluminum permanently.
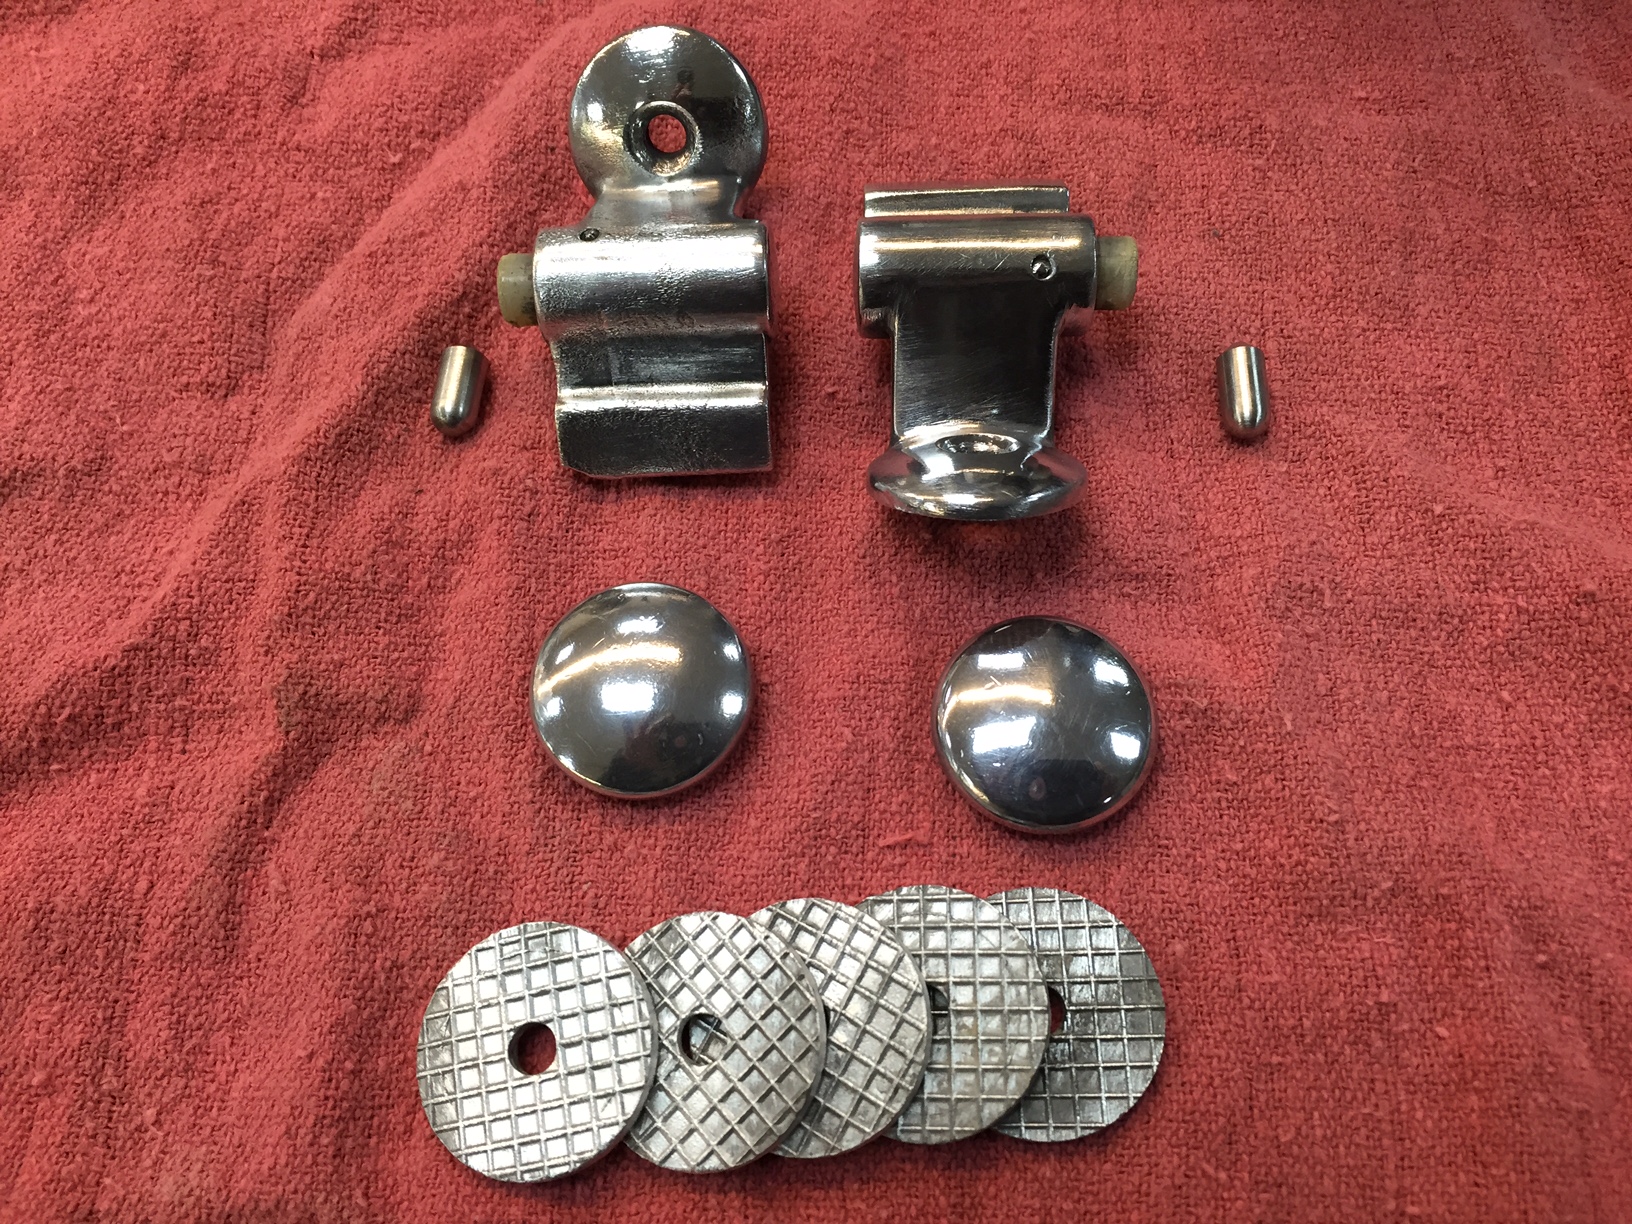
Pickup cab rear window latches. Same drill, paint stripped, Alumabrite, polish……..there’s a theme here.

The dip switch, same as above.

Another view.

The original radiator, this was an entire days work. Of course it was blue, and then someone brushed on POR on top, so lots of paint stripper. I straightened out some fin damage from bug/rock hits, it will now go to my local radiator guy for a clean bill of health and a possible re-core.
Colby – time for an update! You’re leaving us high/dry here 😉
Hi Charlie,
I’ve thought about posting something (I have a beautifully powder coated frame with axles , Rocky Mountain parabolics, and OME shocks sitting here), but I really don’t think it’s very interesting stuff to the seasoned Series Rover person. The bulk of the work over the last couple of months has consisted of rebuilding individual wiper motors (I think we’ve all done that multiple times), re-assembling subsystems like pedal boxes and parking brake, cutting/flaring/bending brake lines, stripping pain off of the old galvanized trim…………the tedious and time consuming stuff that must be done but isn’t shiny or cool so isn’t of much interest. I’m headed to Rovers North tomorrow, I have a freshly built R. Whitehouse & Son transmission waiting for me there, Mark Letorney is helping graft my Series 2 bell housing and throw-out to the Whitehouse S3 box, so with that done (I have the engine finished and waiting in the shop) in about a weeks time I will take some photos of the completed chassis with new engine, tranny, suspension, axles, brake lines, etc. and do an update……….it should “look like something” at that point.
Thanks for the interest!
Nice! Looking forward to hearing abut the grafting process. My 68 2a has a non-synchro gearbox still and this is an upgrade I may consider if my gearbox ever gives me cause to repair it…