
Since I’ve shortened the right side motor cover, this rear section can not be used, but this is where the Chainsikle rear sets mount, so off to the drawing board.

Cut out a piece of 1/2 inch aluminum plate……….plasma works, but can be a bit messy with this thickness of material so it was necessary to finish the sides off on the Bridgeport.

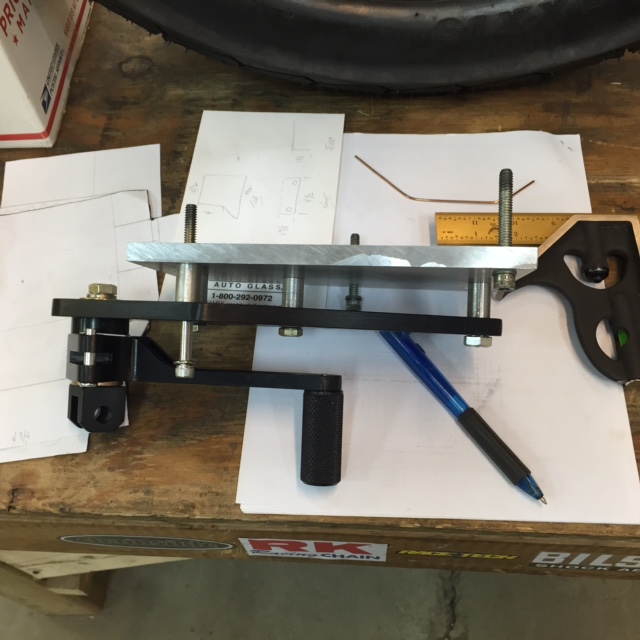
Roughed out, now have to place the holes in the proper spots for the Chainsikle equipment. Also have a bunch of spacers to make on the lathe to line everything up relative to the engine case.

Lots of holes, everything lines up.

Pretty much where it’s supposed to be……….now to the lathe to make spacers.

Boring and turning 3/4 inch aluminum stock. There are four different diameters, two lengths, and three bores needed.
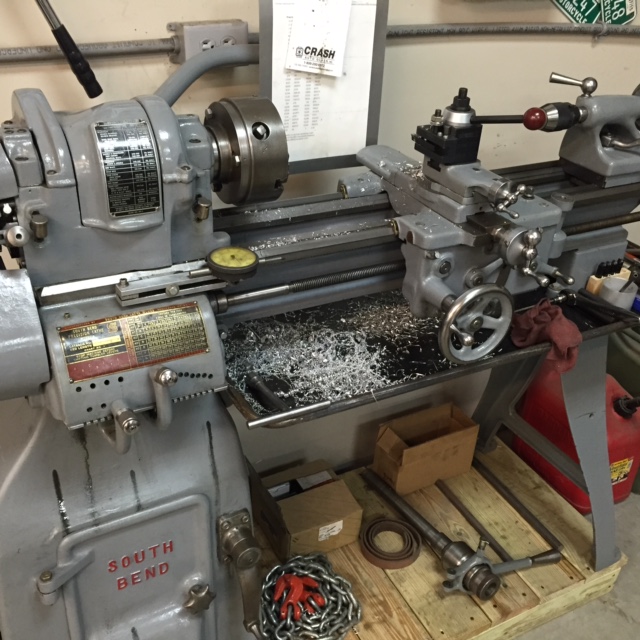
Lots of chips…….

And in the middle of the project my VFD (variable frequency drive) decided to burn up……….perfect.

A few days later and a new VFD, we have some spacers……..a few more still to make.
Making sure all is square.
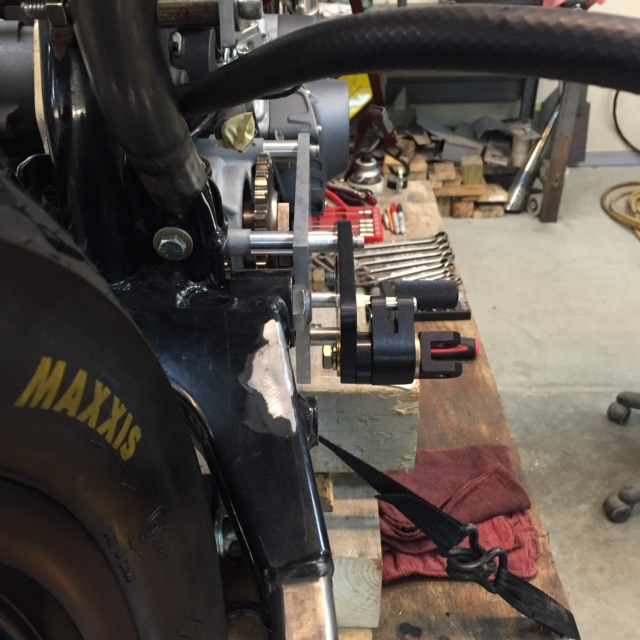
Rear view…….this is where it will sit, and it matches up to the left side position so I must’ve done something right.

Only a couple more steps…….figure out where the Brembo master cylinder will mount, and mill down the aluminum plate. The Chainsikle mount is designed to accept the stock Harley master, but I really don’t like the look of the stock unit, so I created another puzzle to solve. After the master is fitted in its final home the entire assembly will come apart and the aluminum plate will go on the Bridgeport to get dolled up.

Another problem to solve was where to put a battery. Here it is……made from stainless plate with a nice brushed finish. The tabs will keep the battery secure front to back and a nylon cinch strap will hold it down. Space was built into the design to allow for padding to be added to the mount to help with vibration.
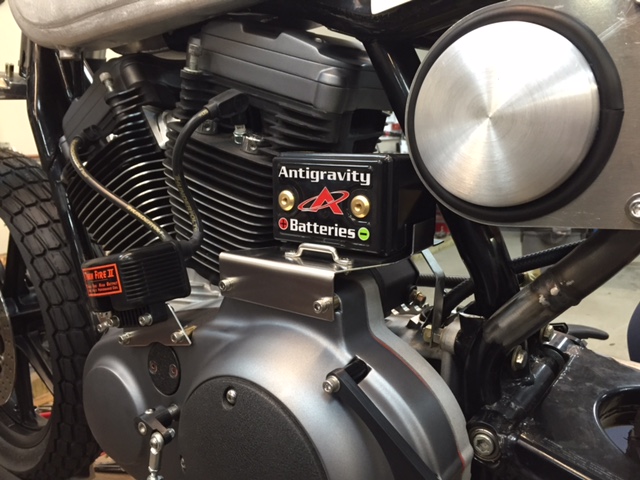
Antigravity Battery in it’s new home.