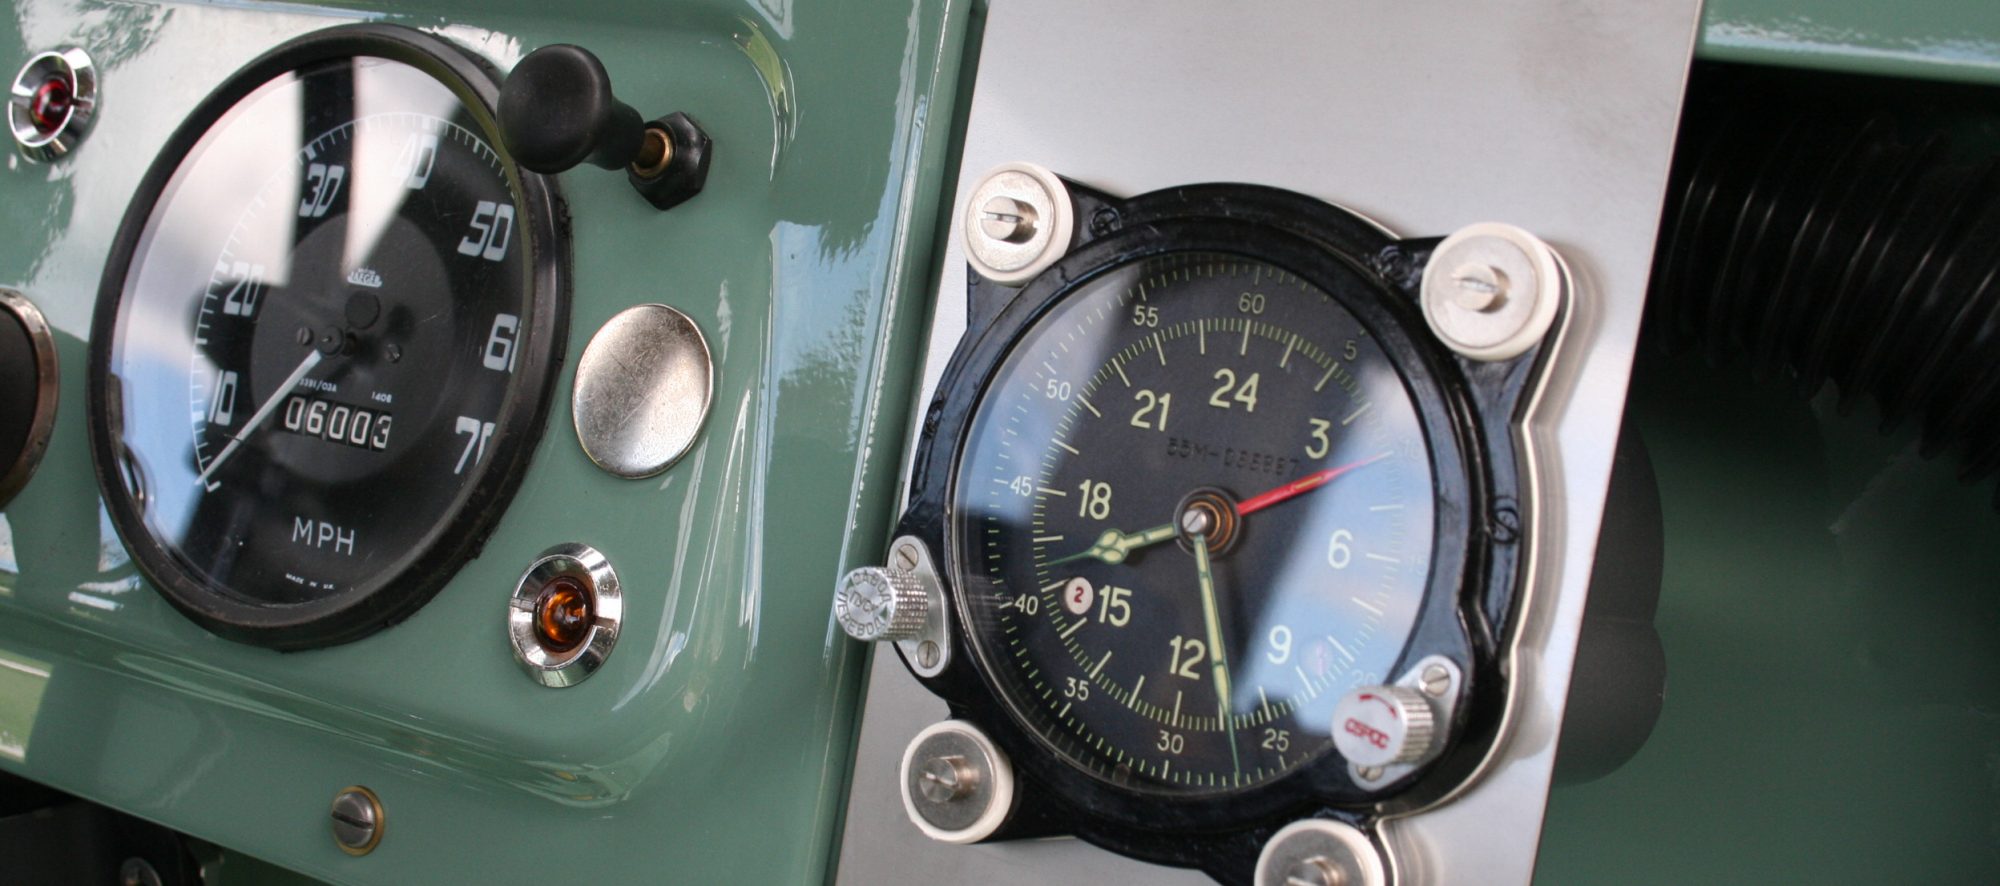
A beautiful day, I’m driving the big 109 to work, people are waving, the truck is running like a Swiss watch, I take a right and head downhill to work, I hear a slight whine coming from the front of the truck, I think “sounds like the Magneti Marelli alternator may be giving up the ghost”, I press the clutch in and rev the 200TDi trying to increase the whine to confirm my suspicion, the whine actually doesn’t change and the truck starts to drag………F!!!
This is when the adrenaline kicks in, something big is happening up front and it’s not good, I hit the brakes, pop the truck into neutral, and swerve right into the dirt, and simultaneously the rear pinion bearing in the front Salisbury seizes and locks the front end up………….show’s over, this sucks!!
Call The Shiv………the flat bed is on it’s way and in no time the 109 is back at the Shack.
A poorly placed breather in the inspection cover that had been leaking was the culprit. The 90w level got just low enough that that rear bearing was getting starved……..so, time to practice dropping the front axle and pulling a Salisbury apart.
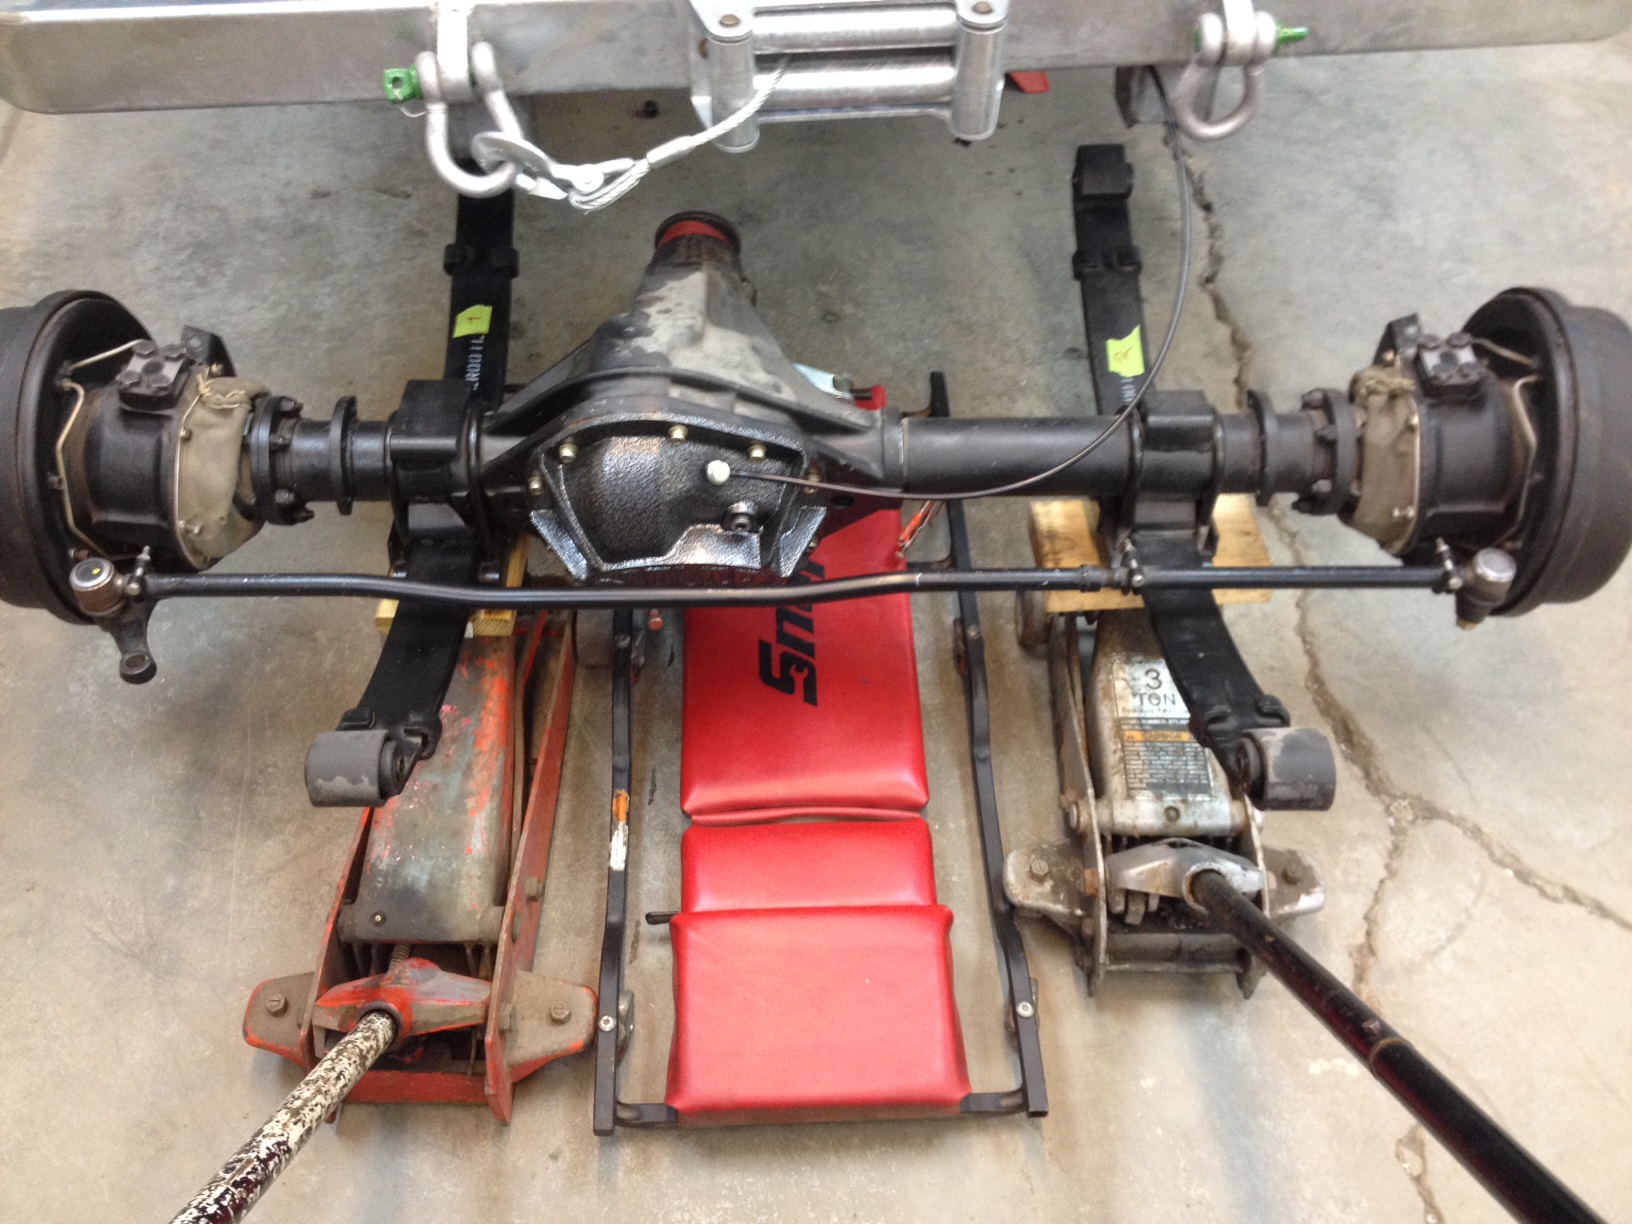
Hear’s a concoction for you…….this thing easily weighs 250lbs., so two floor jacks, a creeper up the middle with a scissors jack to support the drive flange and keep everything level…….Lower away. On the upside, this gives me the chance to swap the front leafs and maybe take some of the 3/4″ lean out……we’ll see.

Rear view of the set up……….off to the saw horses.
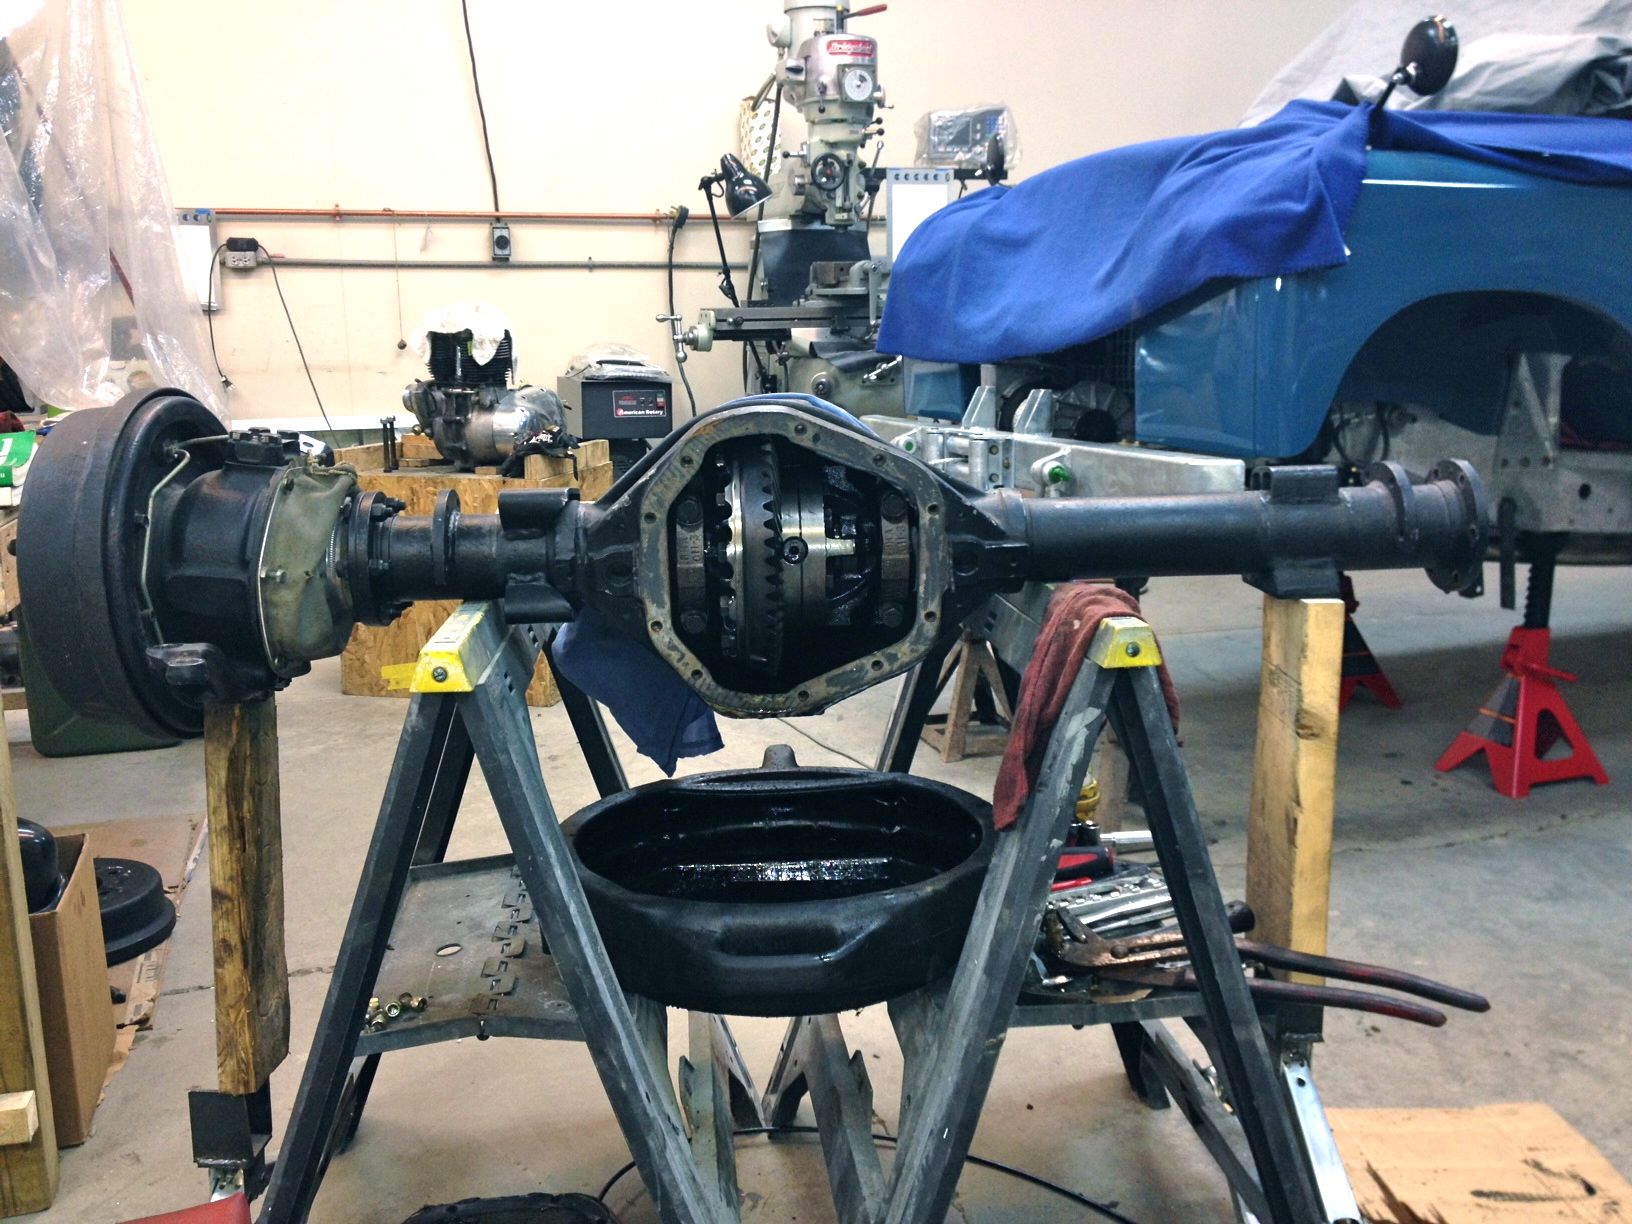
Opened up, diff looks good, no shavings floating around, teeth on the ring gear are healthy……..sigh of relief.

Axles out……..clean bill of health here too.

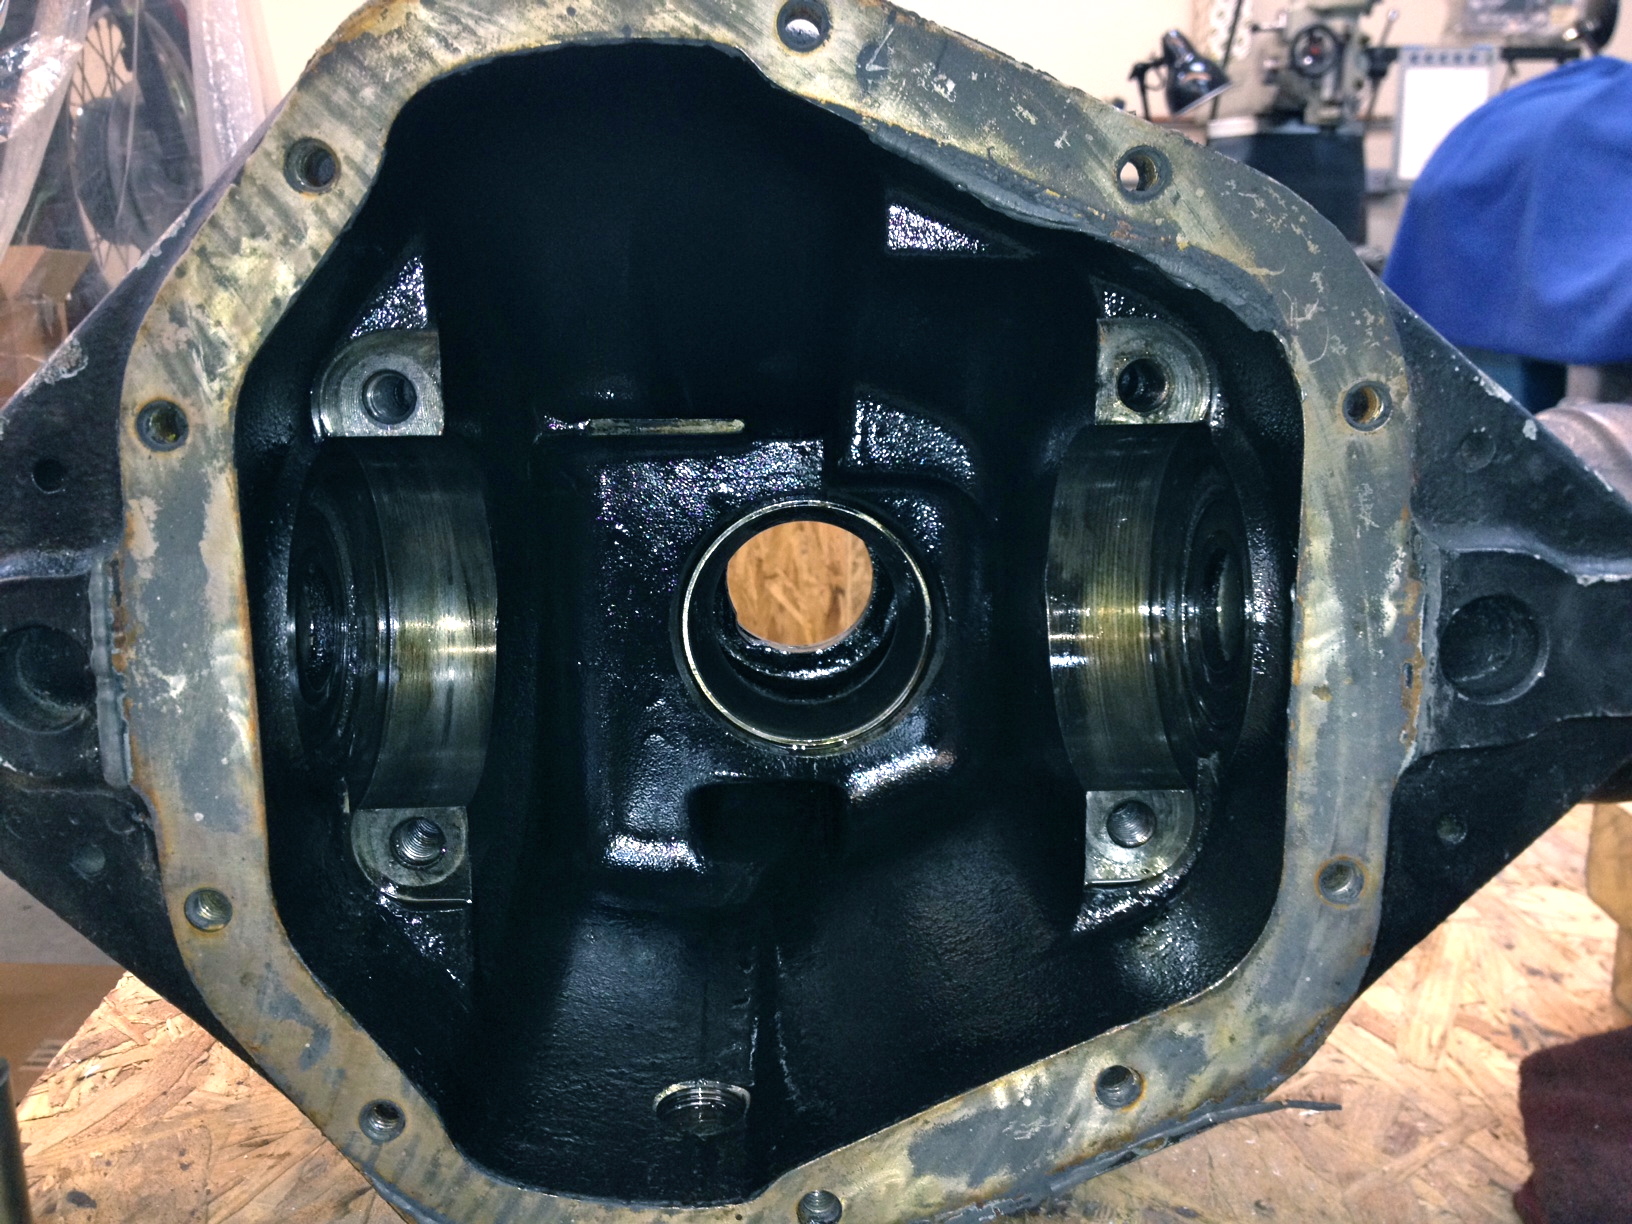
When you take these apart, make sure to note what goes where for the bearing caps………they have to go back in exactly as they came out.
Gutted……..I didn’t take any photos of the method for getting the diff out of the housing……….wood & pry bar. I’ll set it back in this weekend and take a couple of photos to demonstrate. It’s a bitch of a job, but just takes some elbow grease and patience (and you don’t need the special housing spreader that all the forums will tell you to get).
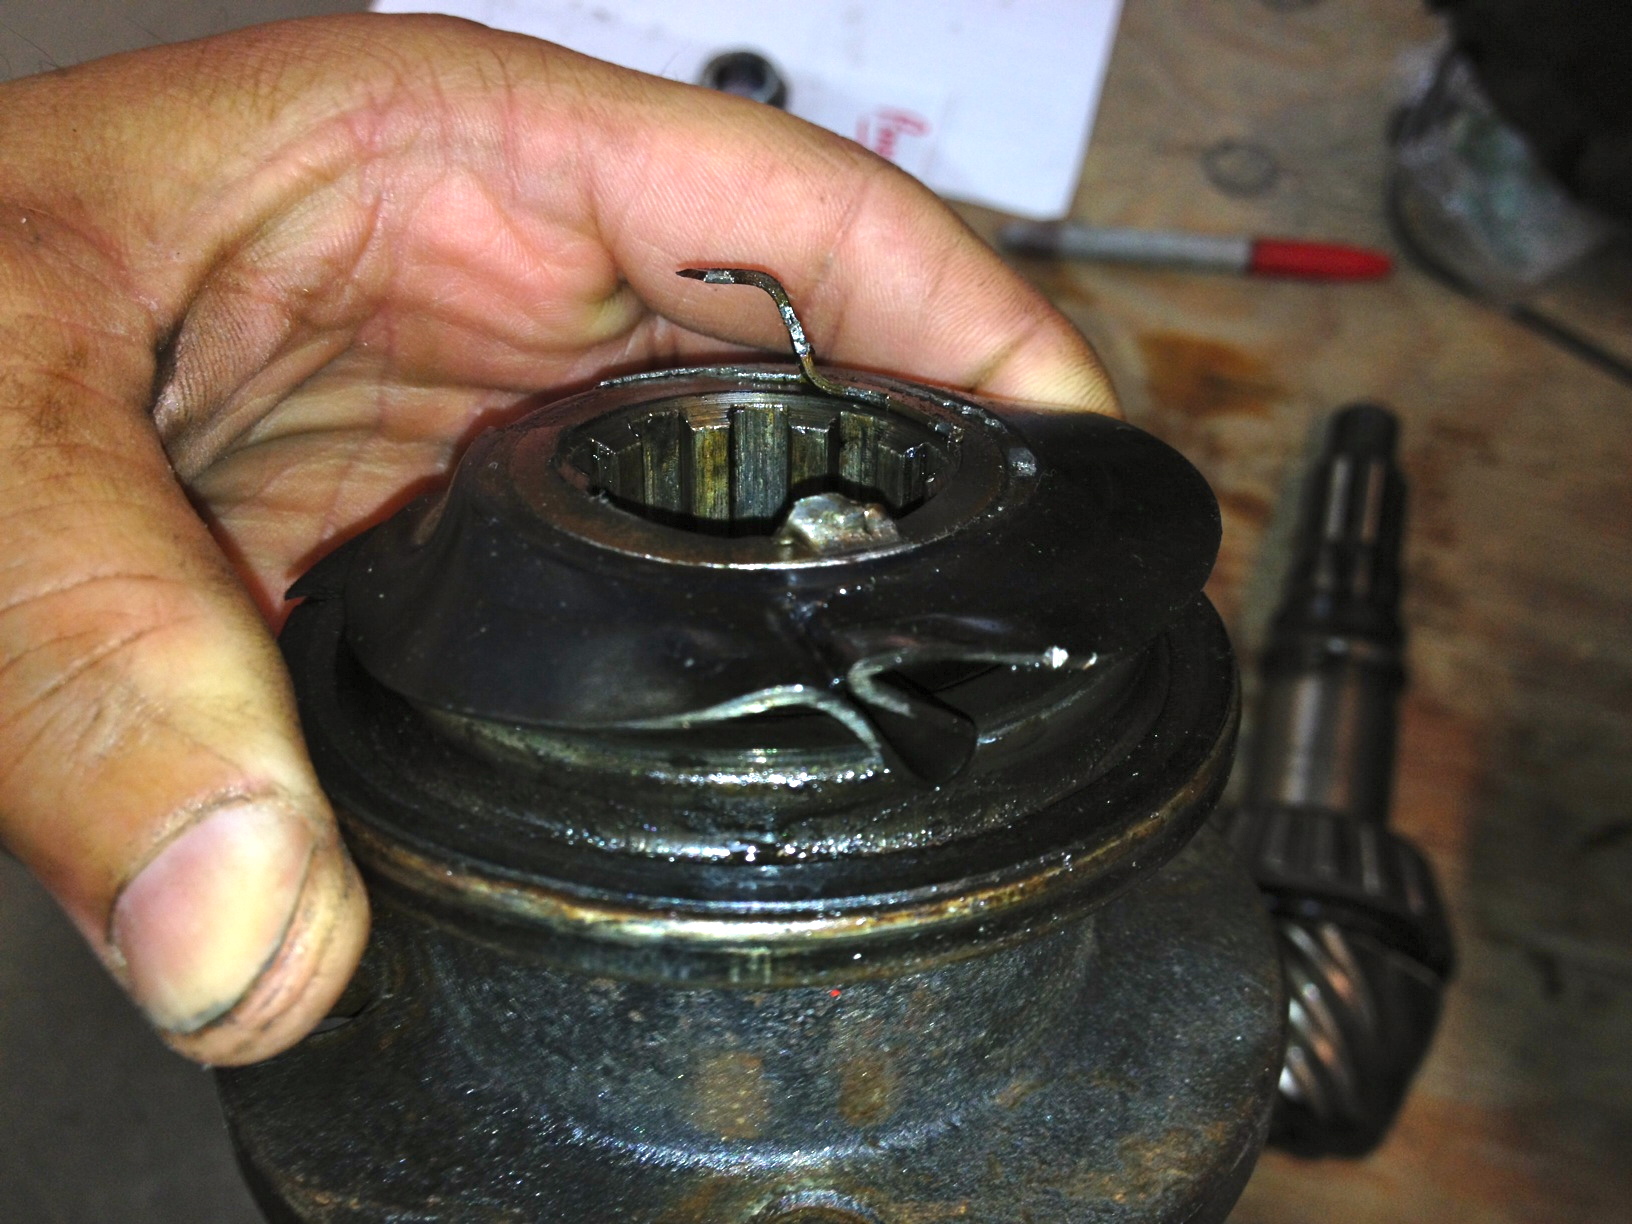
Getting the pinion gear out was the bigger problem. The heat from the seized rear bearing had really locked the pinion in there. Usually they can be pounded out with a brass drift, but I didn’t stand a chance on this one. I ended up placing the diff housing face down in the press and pushing it out (I made sure to put a lot of padding under the press in case the pinion came flying out, which it did…………..be aware of this when you’re doing your own with a brass drift……..you don’t want to damage the pinion gear when it flys three feet out of the housing).

The line up.
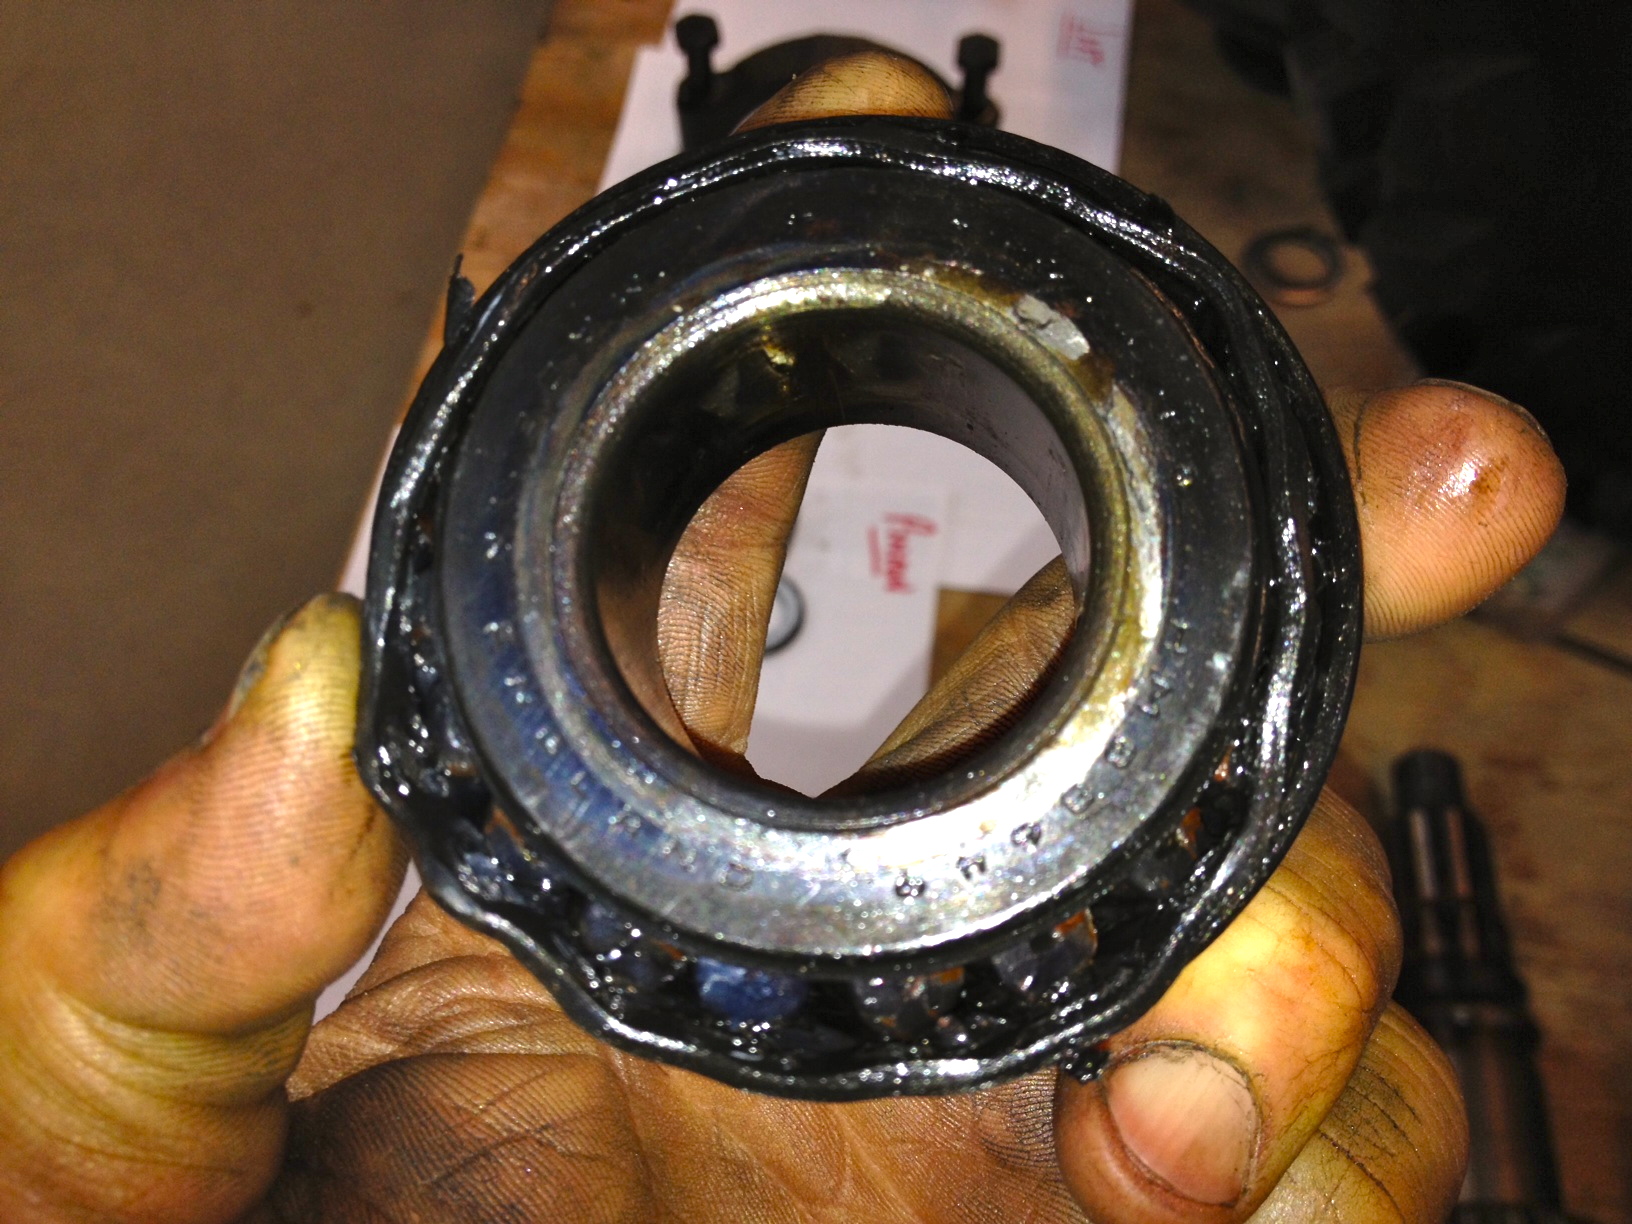
The seized bearing………fortunately in stock at Rovers North twenty minutes away.
Actually folded the thrust washer over on itself…….that’s a varsity failure!!
Ouch, glad you got it sorted out so quickly though. I’ve had to replace a couple of diffs and numerous broken halfshafts (where the broken end is usually stuck in the diff) and can normally do it with the axle in situ however I soon learnt to use an upturned washing up bowl to ‘catch’ the diff as I slid it out and off, as they are damned heavy and not easy to support when laying under the vehicles.
Now what you need is some free wheeling hubs!! No need for recovery truck then 😉
Seriously considering the free wheeling hubs option……..you’re right, I would have at least been able to drive back to the shop.
I thought about leaving the axle in and just dropping the diff, but I had a feeling the pinion was going to be a bitch to remove with the seized rear bearing, so it all came out. It is a bear of a job!
You might consider building that spreader tool for the Salisbury. I made my own years ago, pretty crudely too, but I really works. It’s just a frame of steel, with the 2 side bars featuring protruding steel cylinders that fit into the holes either side of the diff cover, held down by a couple of holes with bolts into where the cover bolts go, and with a turnbuckle type arrangement to put outward pressure on the sides. I made mine for an MG and have not yet tried it on LR but it should be adaptable. The main reason to use the tool, is that when you use it you realize that the whole axle has been cleverly designed to hold the diff unit in by squeeze. The diff is initially immovable, but then with just really the slightest turn of the turnbuckle, the diff suddenly is totally free and can be easily lifted out. This impressed me and I was pleased that I made the tool. I think also, that this is important when putting the diff back in, perhaps more so than taking it out. You can just use the illustration in any showing of factory tools, as a guide for how to construct it. I did not have a milling machine or anything at the time, all my parts were crudely made with grinding and welding, so you could easily do a better job.
The Salisbury units also have a few other special tools, but the pictures in the shop manuals do not show the dimensions critical to build these. A couple of years ago I happened upon a mechanic who had these tools and he allowed me to take the critical measurements. So at some point I may make my own versions of these other set up tools as well.